In this article:
related pages:
Step 1: Start Connection
- Navigate to https://my.profitmetrics.io/customer/dashboard.php
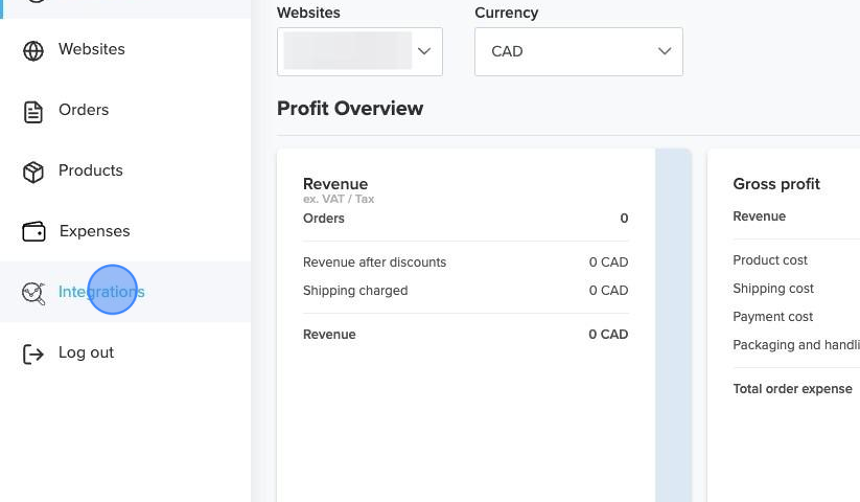
- Click "Integrations"
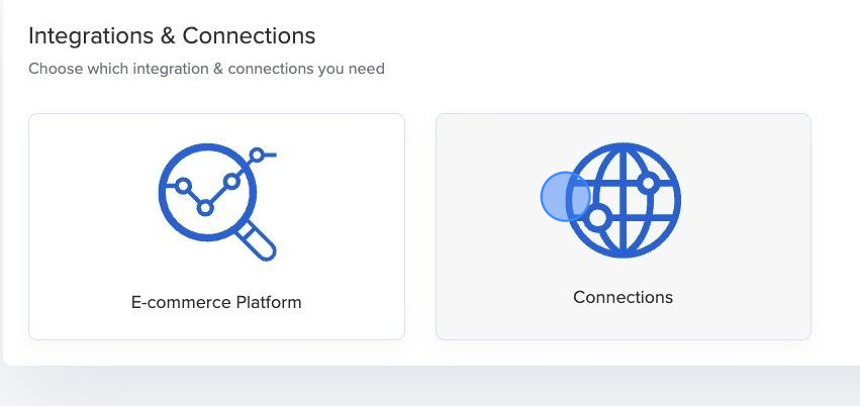
- Click Connections
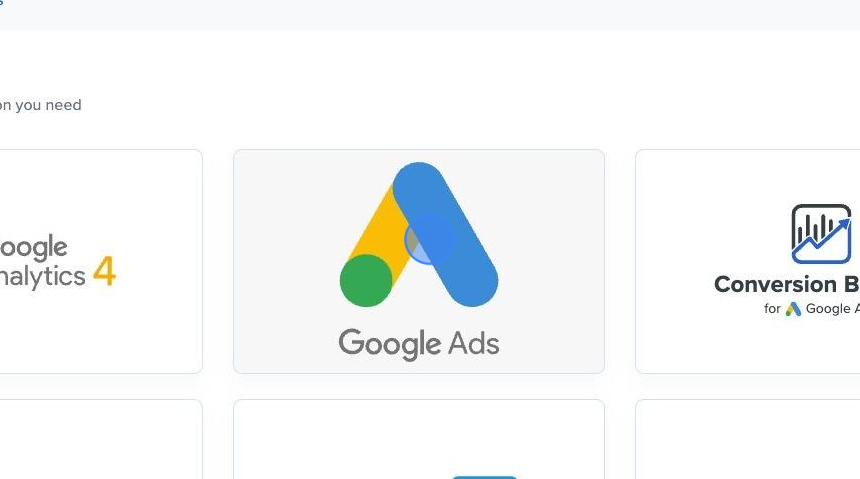
- Click Google Ads.
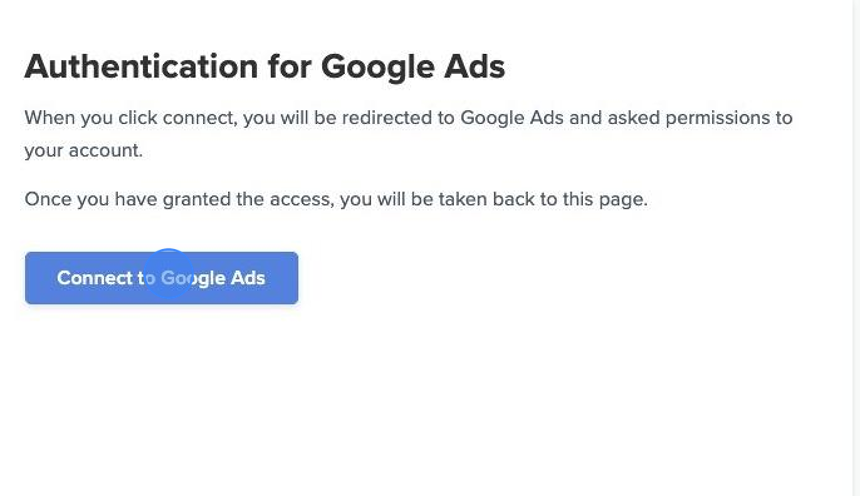
- Click "Connect to Google Ads"
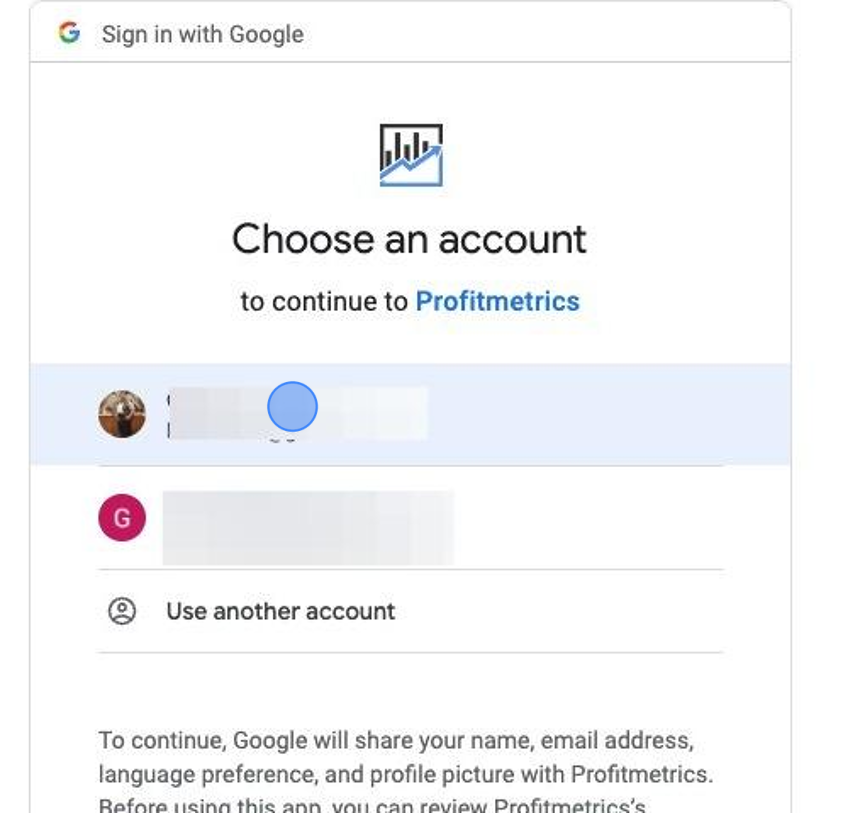
- Select the account used for your Google Ads and click Continue
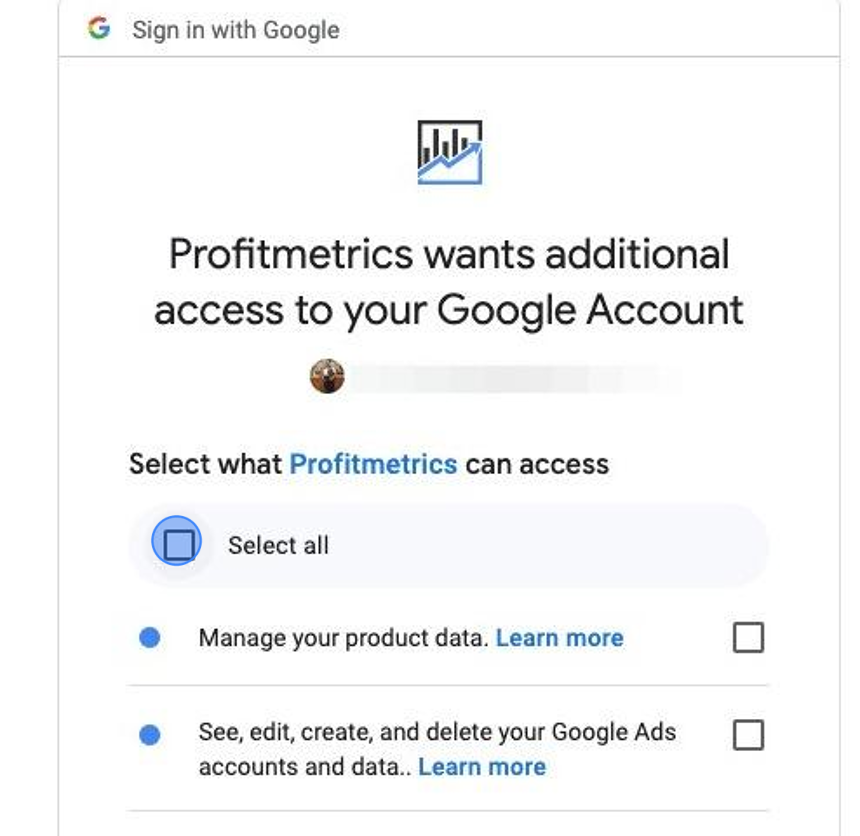
- Click the "Select all" checkbox to allow all permissions, then click Continue
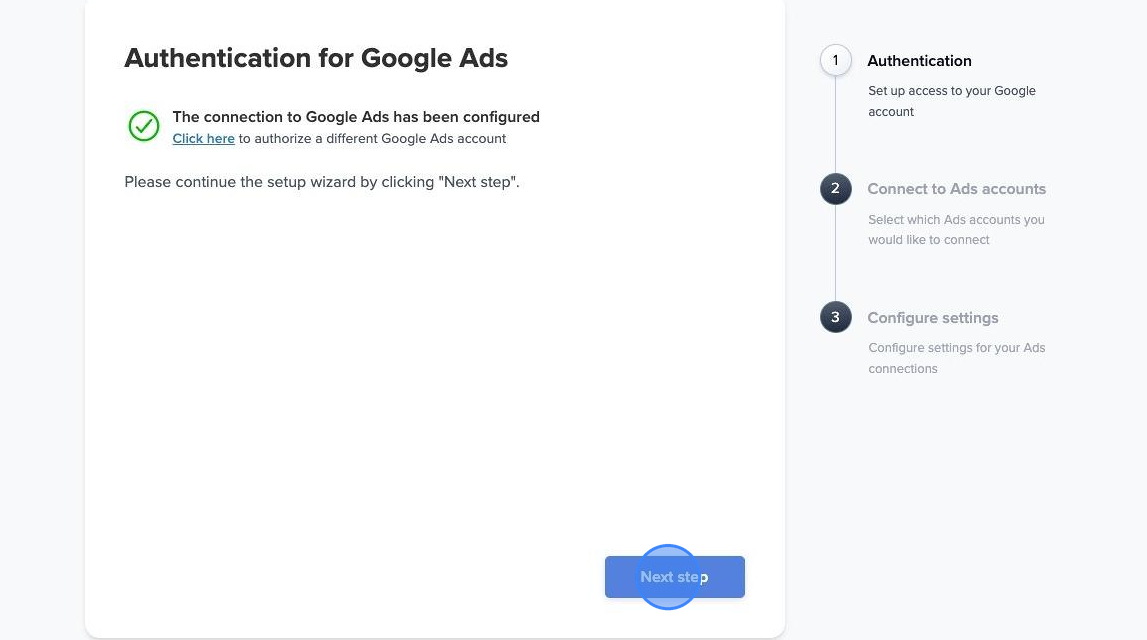
- Click "Next step"
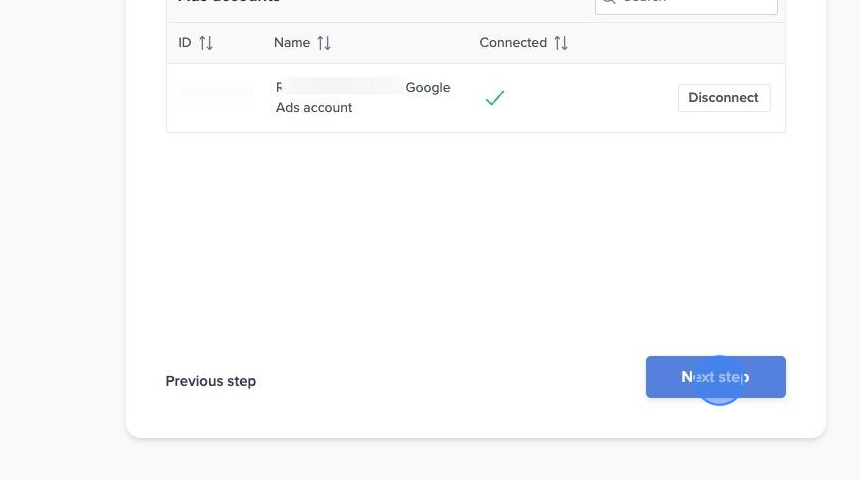
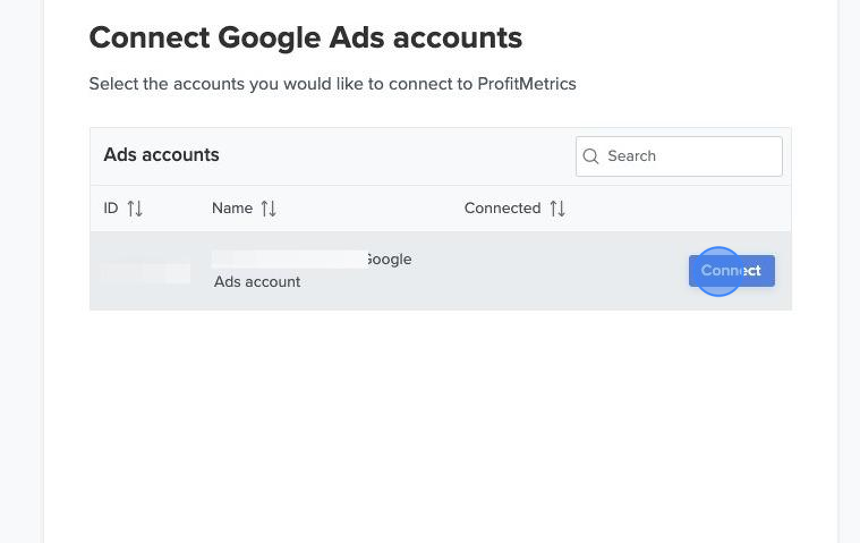
- Click "Connect" beside the required Google Ads account.
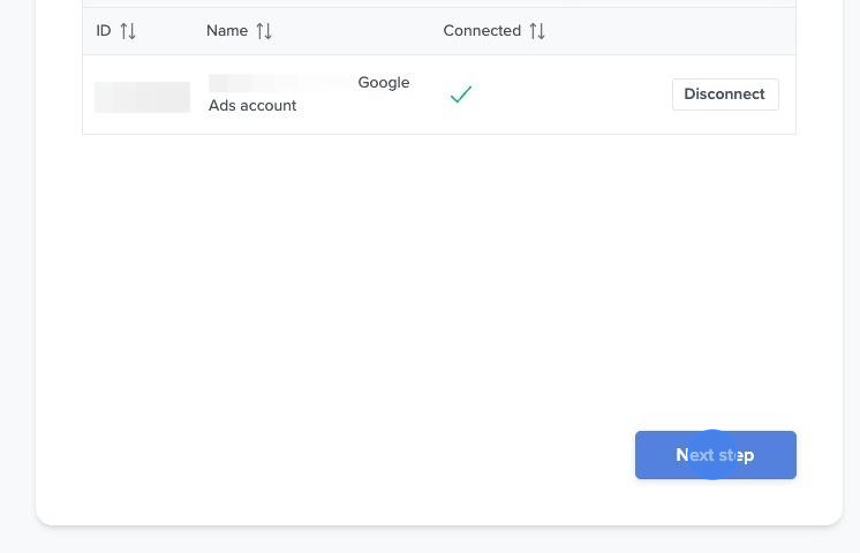
NOTE: If you are using MCC level tracking and connecting an MCC account, make sure to select MCC and all related sub-accounts - Click "Next step"
- Click "Finish setup".
NOTE: If you have multiple sites for different countries that share the same Ads account, it may be necessary to filter by adgroup or campaign name.
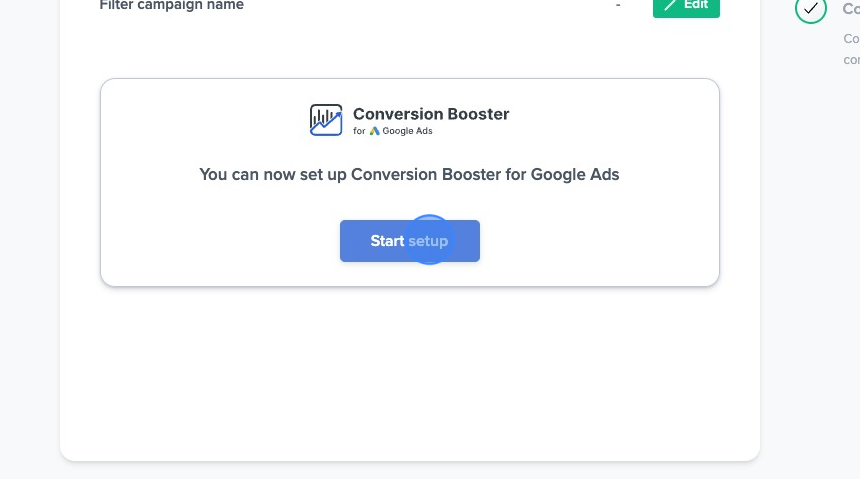
Step 2: Set up Conversion Booster
- Click "Start setup"
- Click "Connect" on the correct Ads account
- NOTE: If you are using MCC level tracking, select ONLY the MCC account here
- NOTE: If you are using MCC level tracking, select ONLY the MCC account here
- Click "Next step"
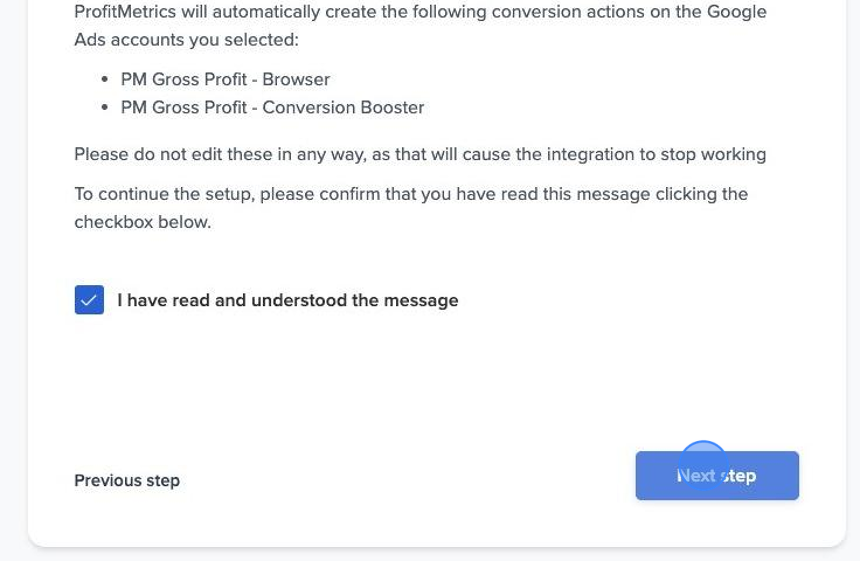
- Click "I have read and understood the message" then "Next step"
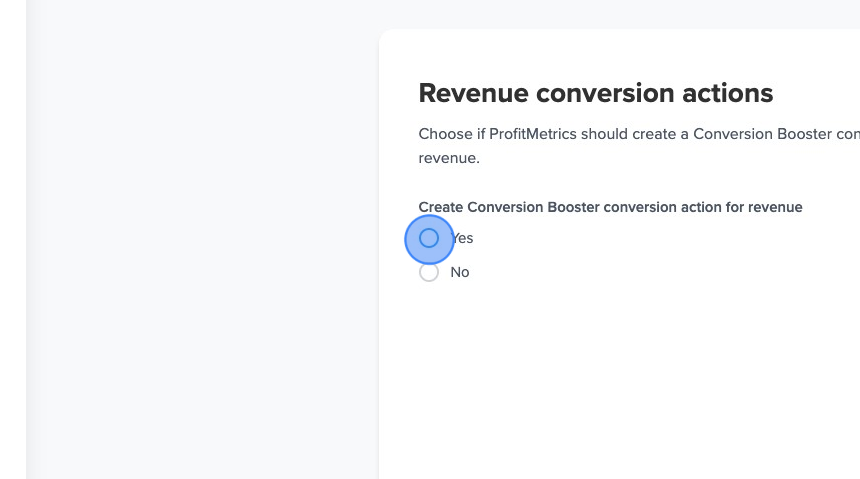
- Click "Yes" to create conversion actions for Revenue
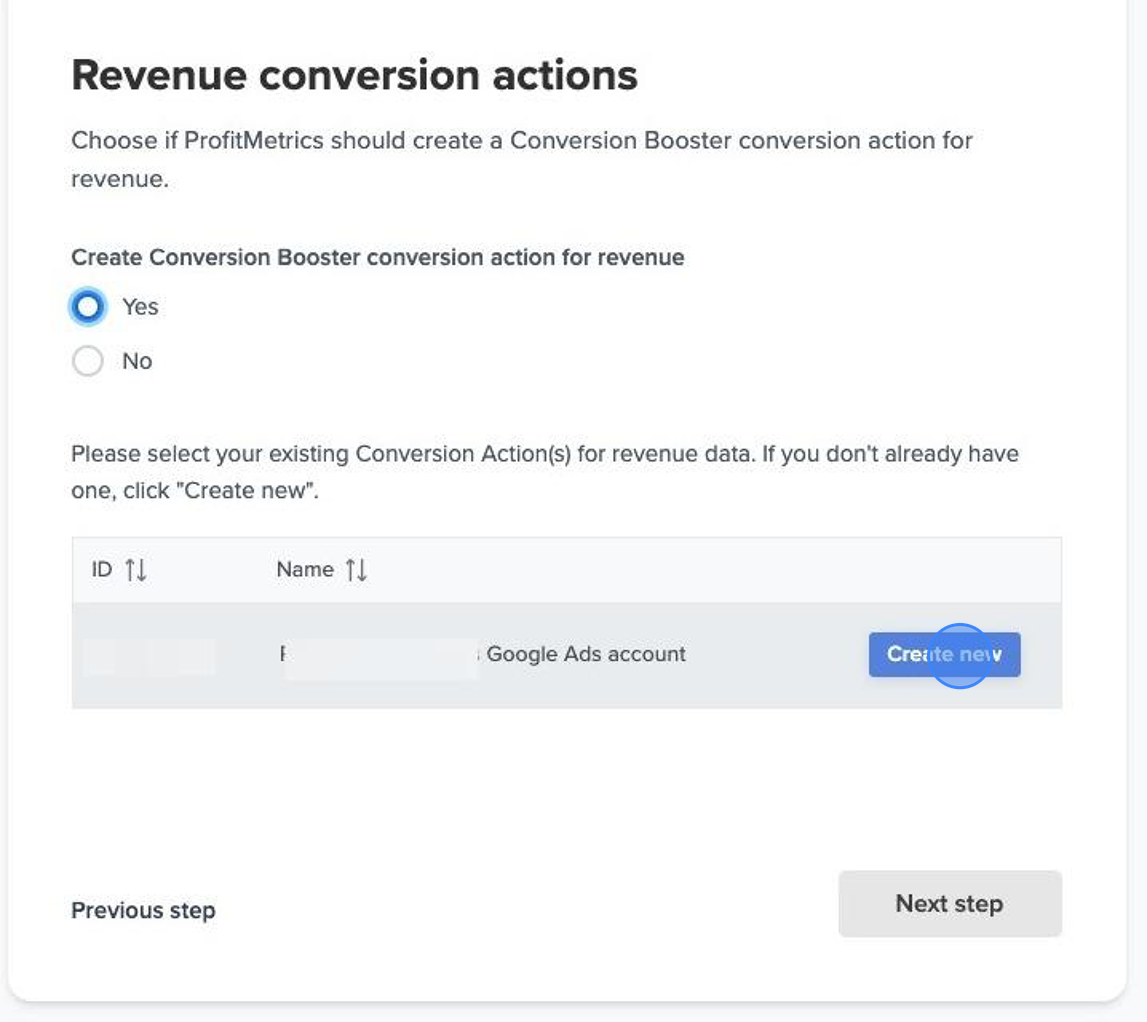
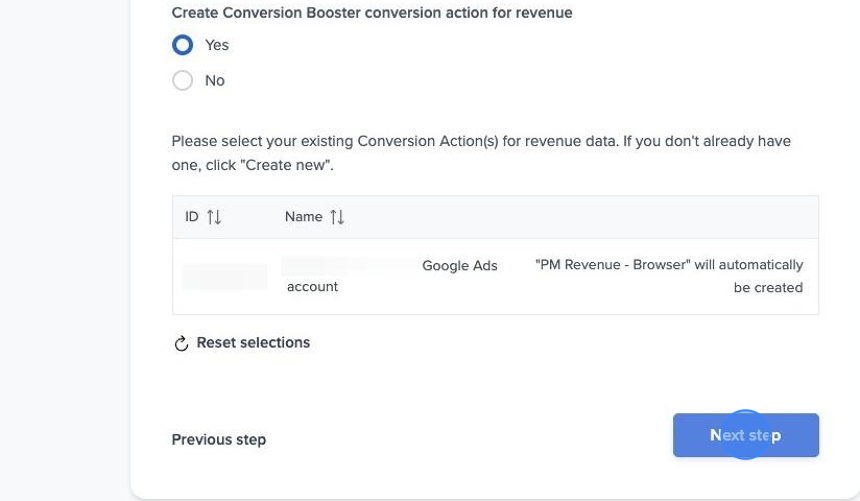
- Click "Create new" even if you already have an existing action tracking Revenue.
- Click "Next step"
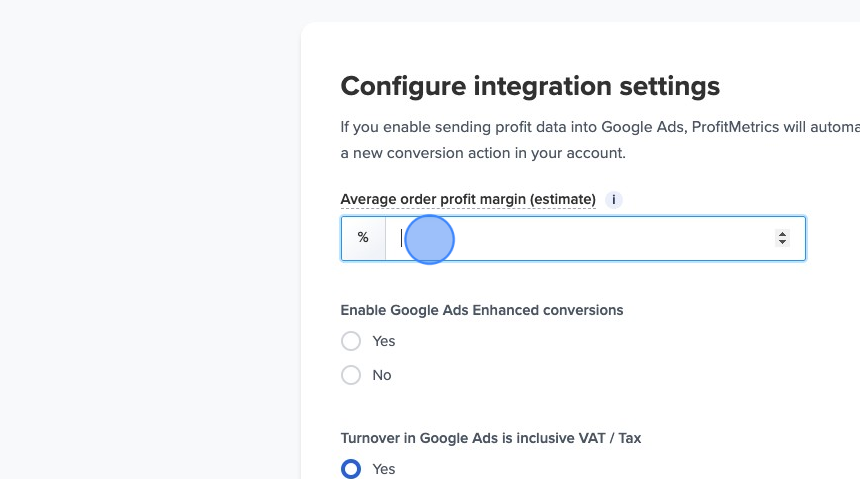
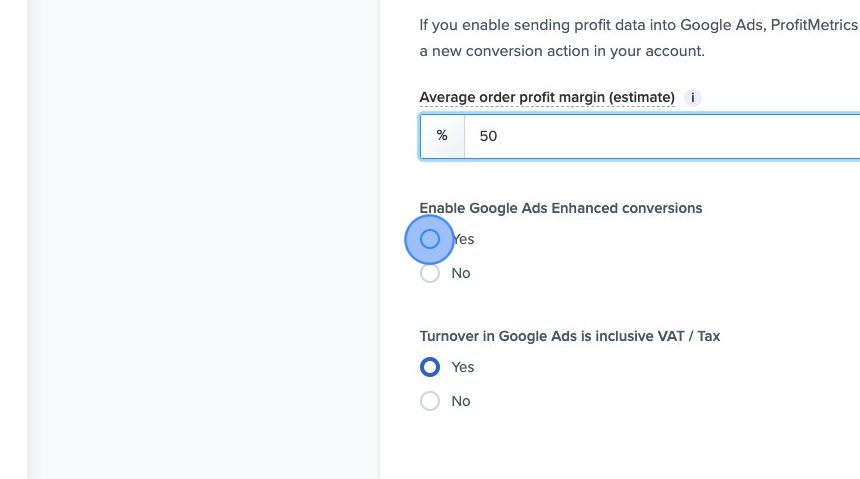
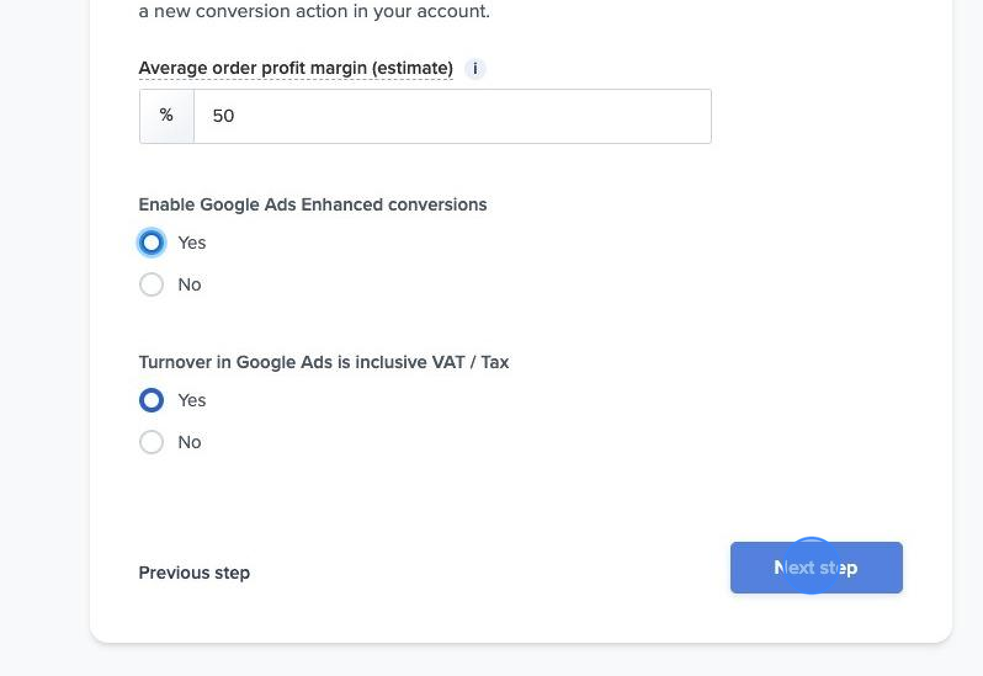
- Enter your estimated average order profit margin
- Click "Yes" to enable Google Ads Enhanced conversions
- Turnover/Revenue in Google Ads is inclusive of VAT is set to 'Yes' automatically. Please change this to "No" if that is not accurate for your account.
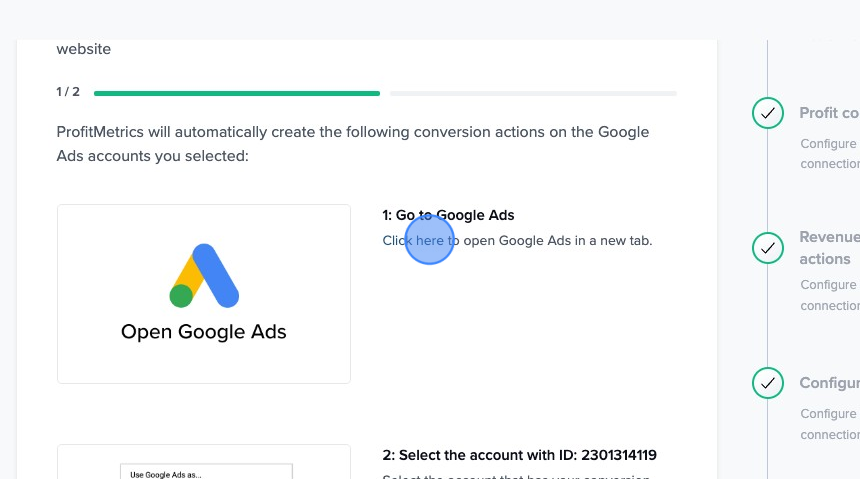
- Click ‘Click here’ to open Google Ads
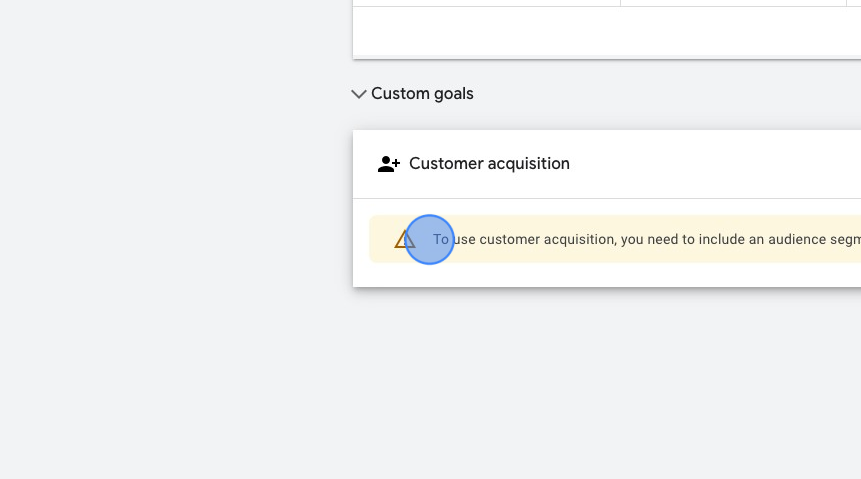
- NOTE: If Customer Acquisition is enabled, set the value to 0.01.
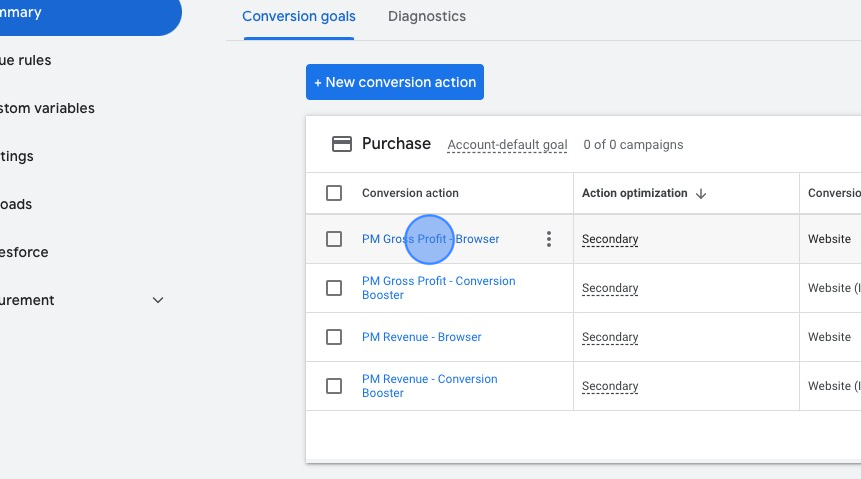
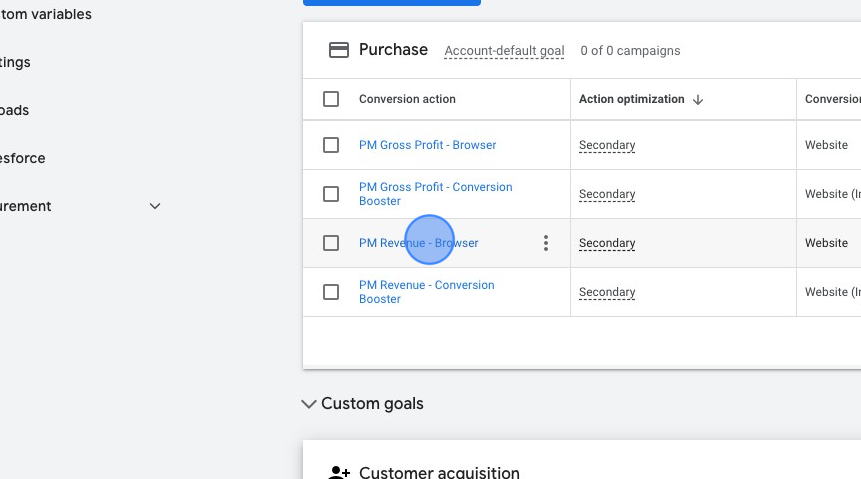
This customer acquisition feature is used to increase the reported value of conversion for first-time buyers artificially. The intent is to prioritize customer acquisition and maximize lifetime value. This is useful in some cases, but for Profit will erode the accuracy of any Profit bidding. - Click “PM Gross Profit - Browser”
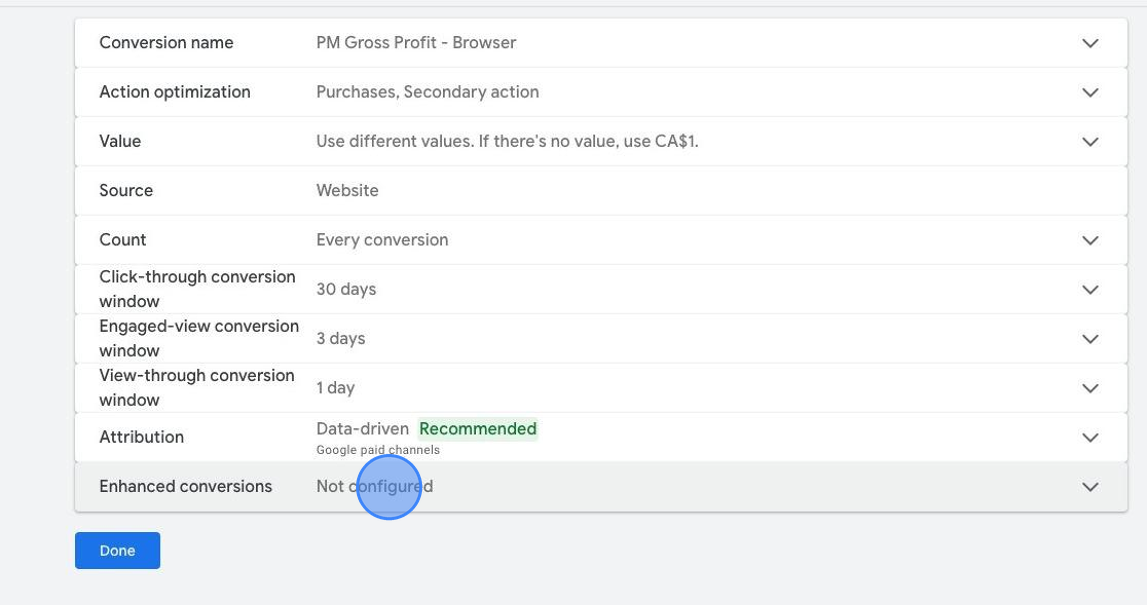
- Click the ‘Enhanced conversions’ bar
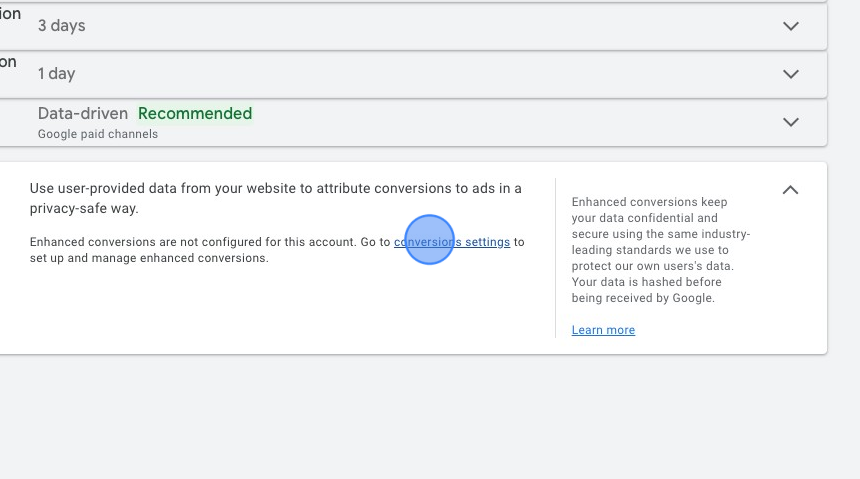
- Click ‘conversion settings’
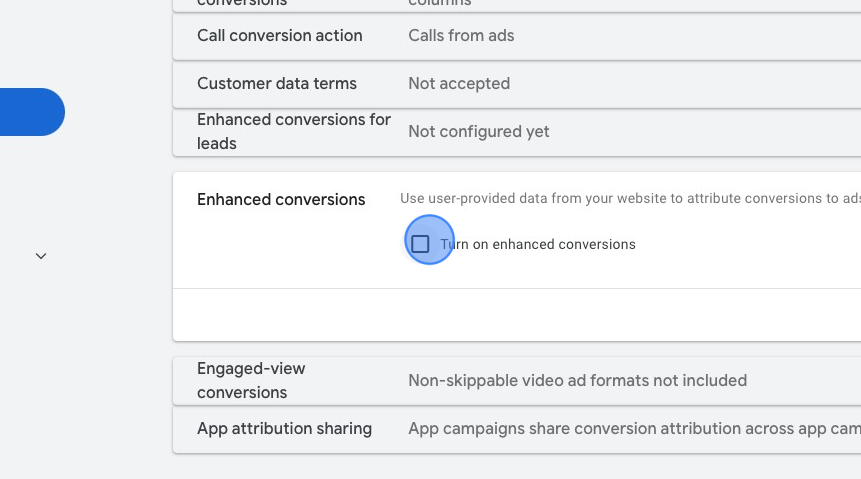
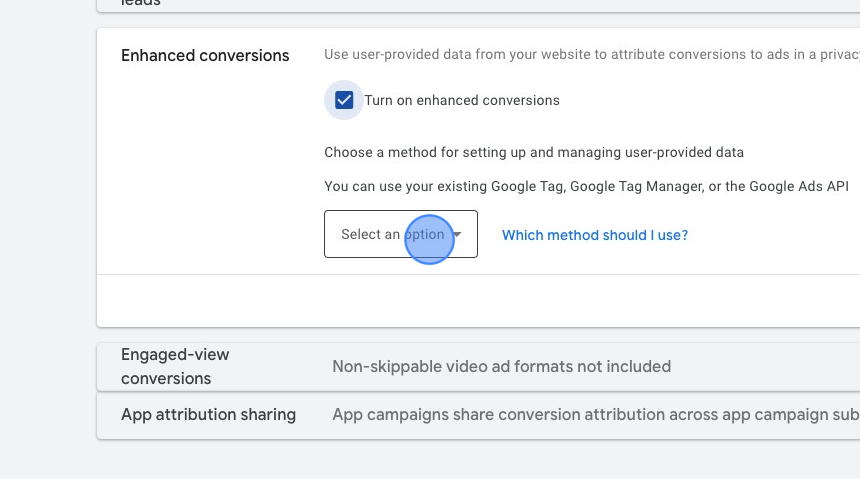
- Click the checkbox to enable Enhanced Conversions.
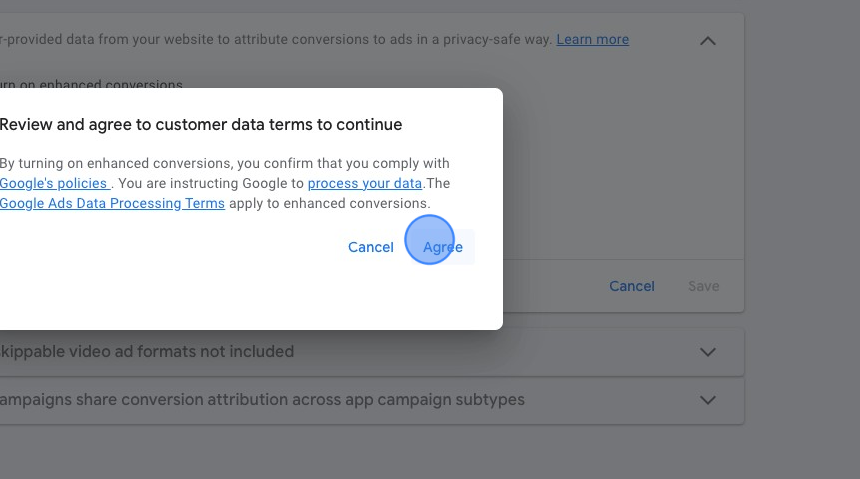
- Click to Agree with the data terms (required)
- Click "Select an option"
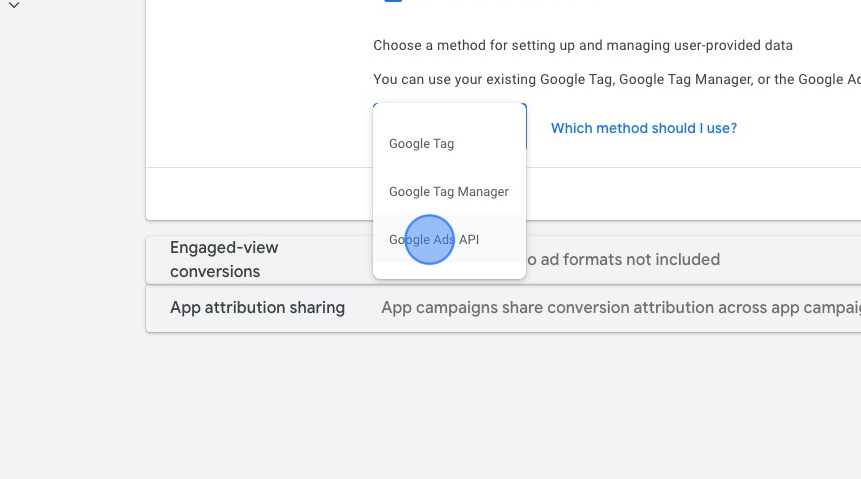
- Click "Google Ads API"
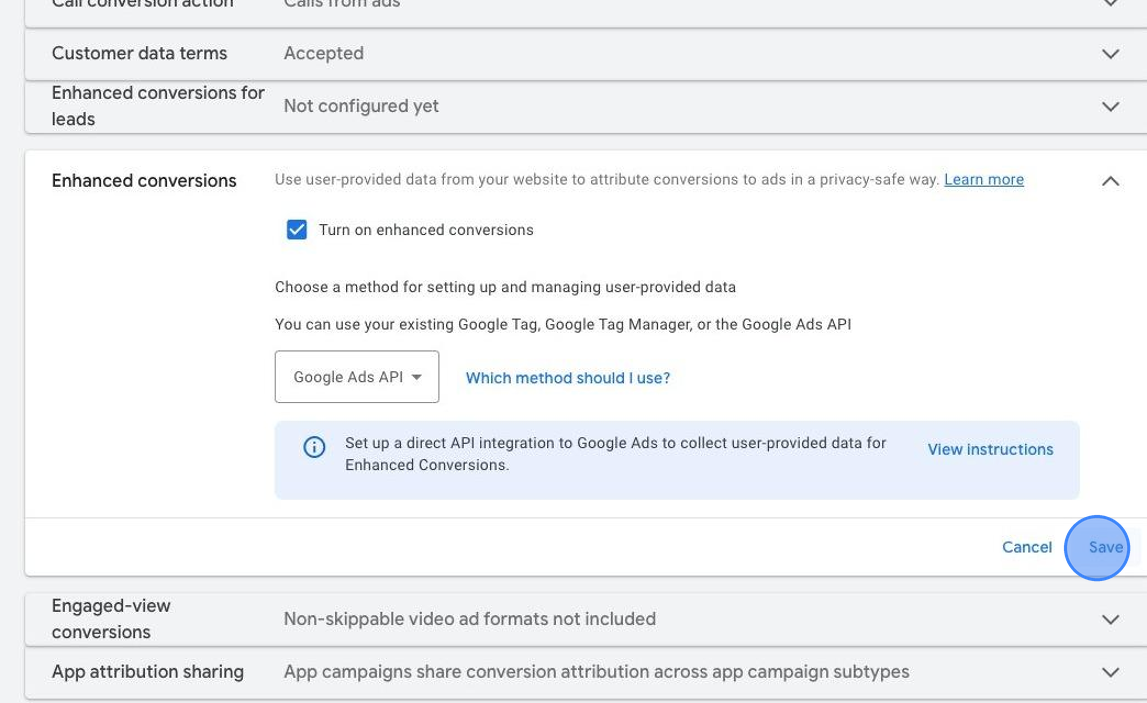
- Click Save.
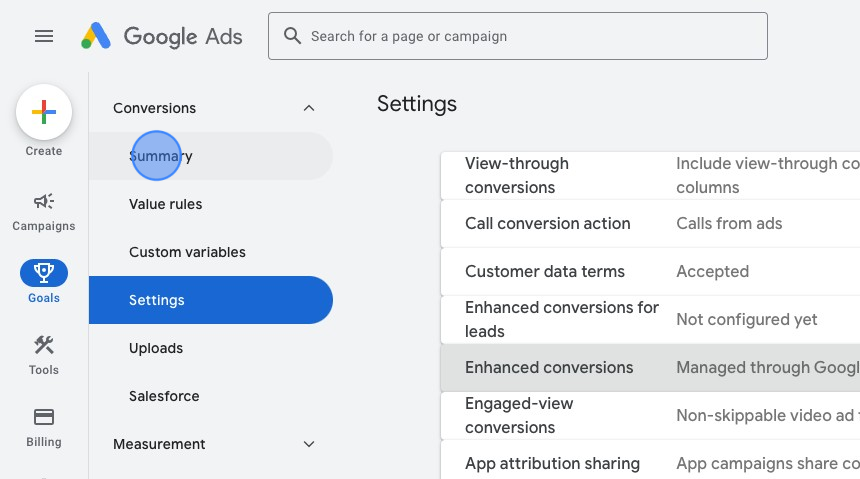
- Click "Summary"
- Click "PM Revenue - Browser"
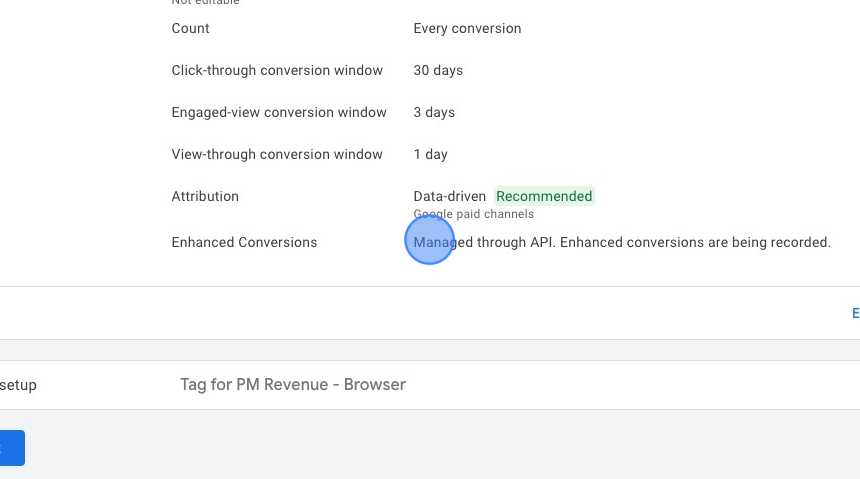
- Verify that Enhanced conversions are enabled and "Managed through API."
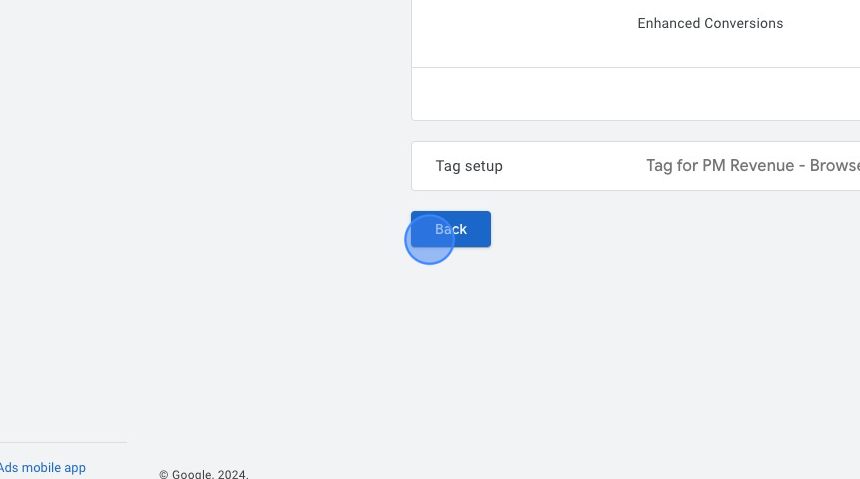
- Click "Back".
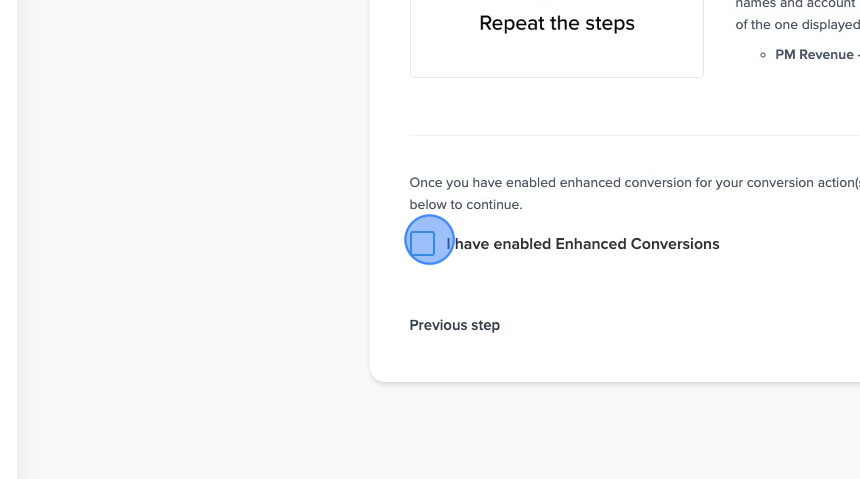
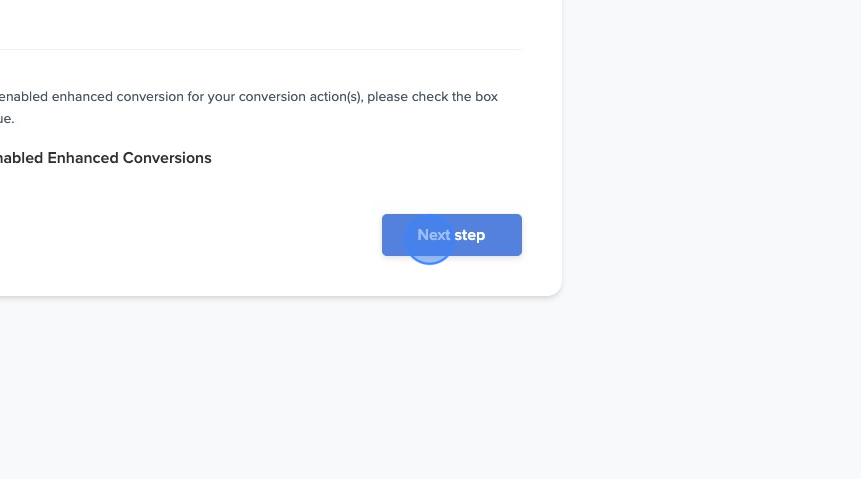
- Click the Checkbox to confirm Enhanced Conversions are enabled.
- Click "Next step"
Step 3: Add to Shopify Settings
- In ProfitMetrics, go to Integrations > Connections > Conversion Booster
- Click 'Open Script Setup Guide'
- Follow the instructions there to add the Custom Pixel in Shopify