How to Set Up Campaigns in Google Ads with Shopping Booster's Custom Labels
Follow the steps below to start using Shopping Booster in Google Ads
Make sure you Set up the Shopping Booster and add the Supplemental feed to Google Ads first. See this set of articles.
- Log in to https://ads.google.com/ and make sure you are in the right Google Ads Account.
- Click the "+ icon" and create 4 new PerformanceMax campaigns with the same target ROAS. Name them like this or use any other name that suits your needs.
PM Highly profitable
PM Profitable
PM Unprofitable
PM No traffic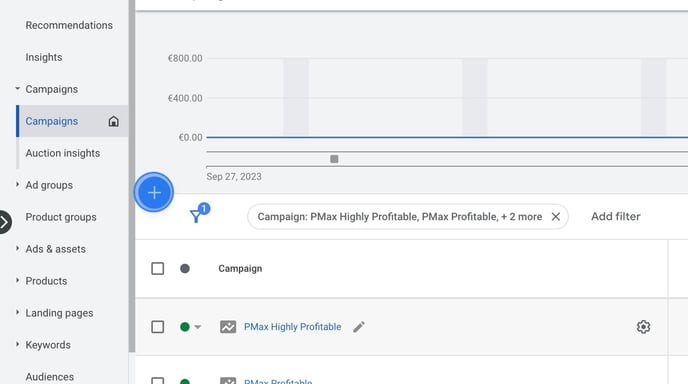
- Click the name of the first campaign to open it.
.png?width=688&height=385&name=How%20to%20setup%20and%20segment%20your%20PerfmanceMax%20campaigns%20to%20your%20Shopping%20Booster%20rules%20-%20Step%202%20(1).png)
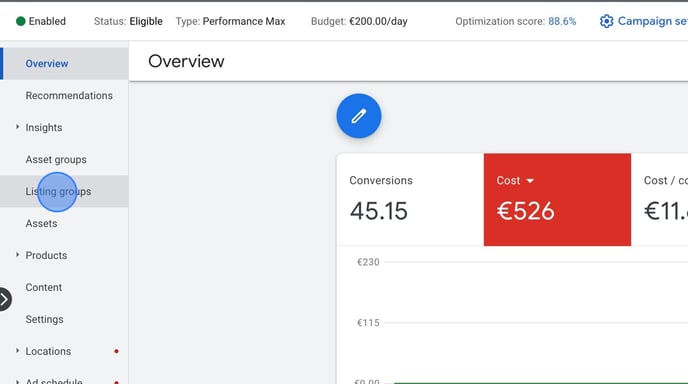
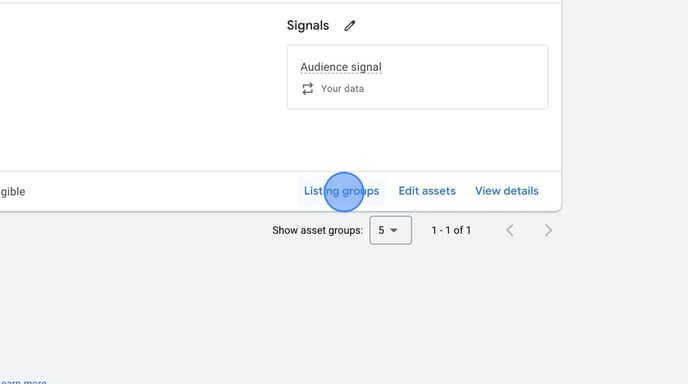
- Go to Listing groups in the left menu
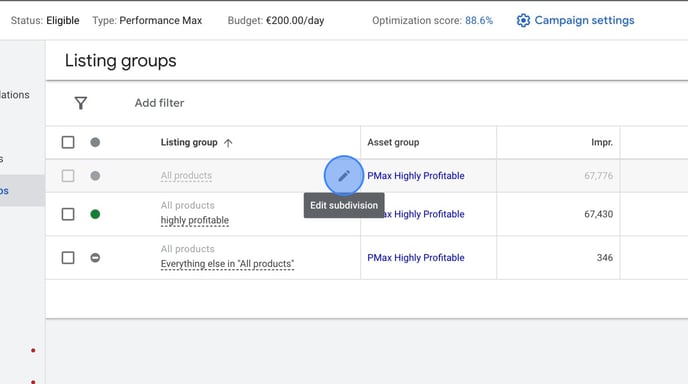
- On the top level click the "Edit icon (Edit subdivision)"
- Click the dropdown in "Subdivide All products by".
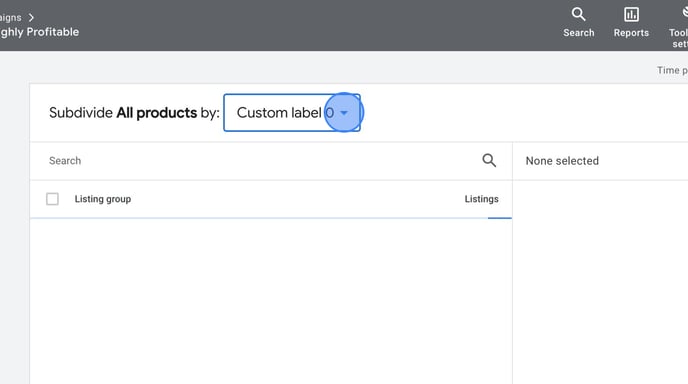
- Select the Custom Label used in your Shopping Booster automation.
NOTE: You can find which custom labels is used in ProfitMetrics > Shopping Booster for Google Ads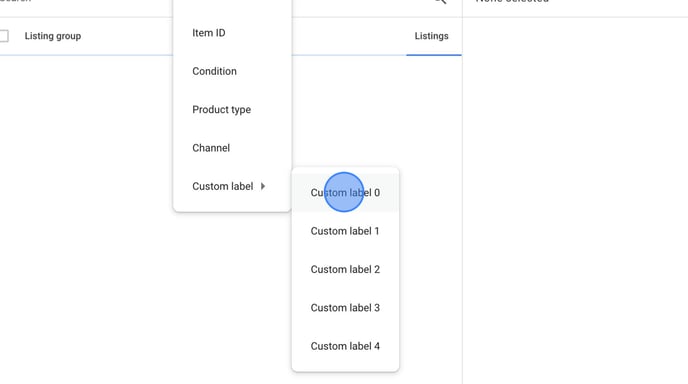
- Select the "listing group" name that matches the campaign you are configuring.
For "Highly profitable" choose "Highly profitable".
For "Profitable" choose "Profitable".
For "Unprofitable" choose "Unprofitable".
For "No traffic" choose "No traffic".
NOTE: Do not worry if you see old data as well. Google will show you all variables that have been able for a longer time period.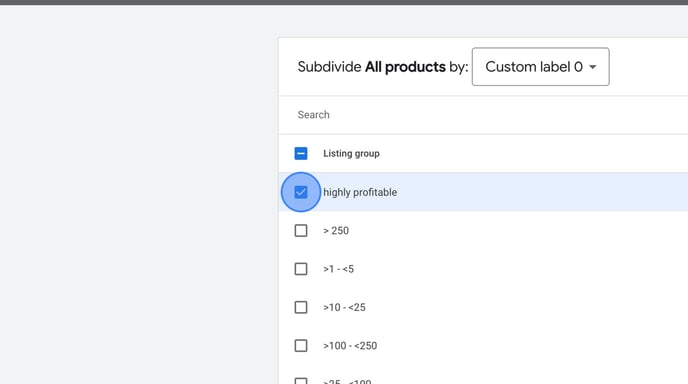
- Click "Save"
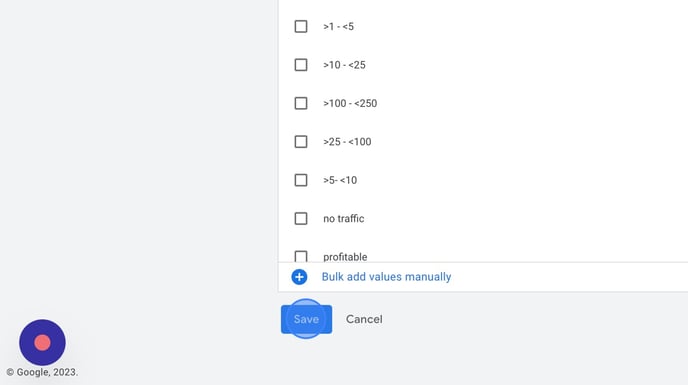
- Ensure that "Everything else" is set to paused.
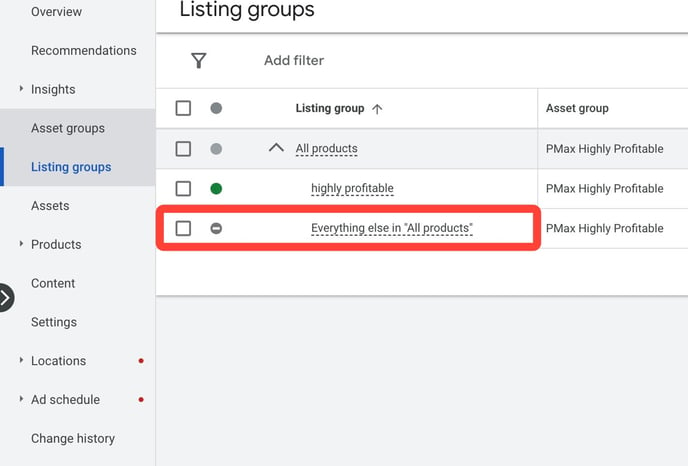
- If you have several Asset Groups, you will need to make these changes in the group listing for each of them.
- Repeat steps 3 to 11 for each of the campaigns you just created in step 2
- Congratulations! Google Ads' Algorithm will now start to prioritize and optimize ads based on the rules you have set in your Shopping Booster automation.