How to install the Serverside Hybrid Universal Integration script in Google Tag Manager.
Follow the steps below to install the Serverside Hybrid Universal Integration script in Google Tag Manager.
The ProfitMetrics Serverside Hybrid Universal Integration is a universal integration that allows for ProfitMetrics to be implemented into any e-commerce platform that is not supported natively. The integration consists of two parts. Part 1 of the integration refers to the sending of orders to ProfitMetrics according to our documentation. Part 2 is to implement the tracking script to capture statistical and marketing-related tracking parameters from the browser and pair these with the orders. How to install the Serverside Hybrid Universal Integration Tracking script through Google Tag Manager.
Do you want to do it manually?
How to install the Serverside Hybrid Universal Integration script.
See this article if you haven't built your integration with ProfitMetrics yet: Sending orders to profitmetrics serverside
Instructions
Part 1: Install the Tag from the template gallery
Part 2: Configure the tag
Part 1: Install the Tag from the template gallery
- Go to https://tagmanager.google.com/
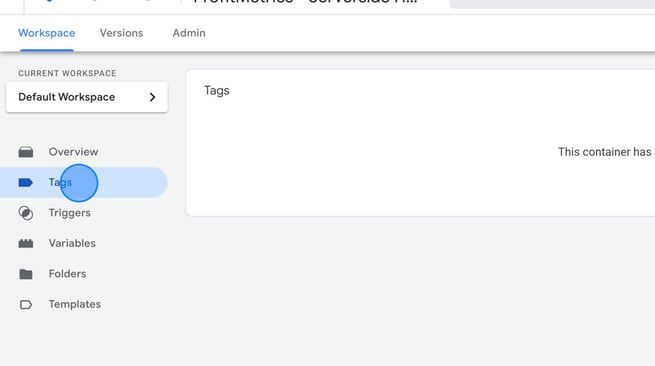
- Click Tags
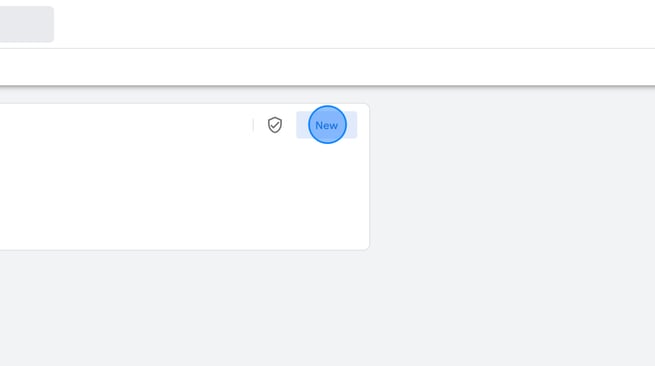
- Click New
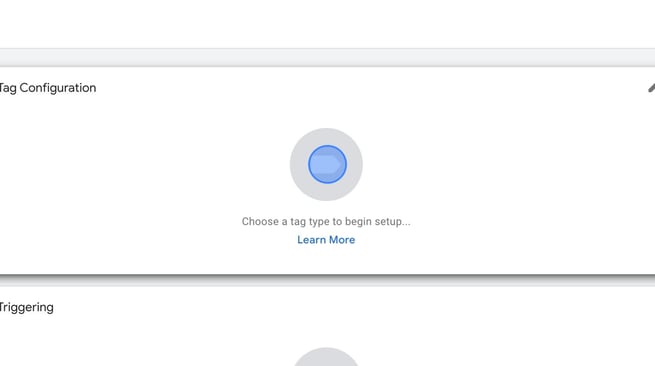
- Click "Tag Configuration"
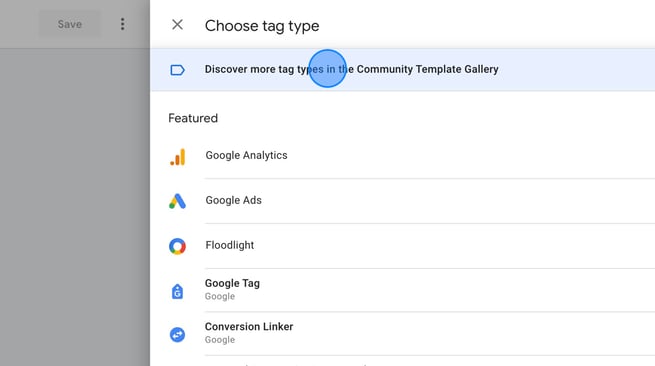
- Click "Discover more tag types in the Community Template Gallery
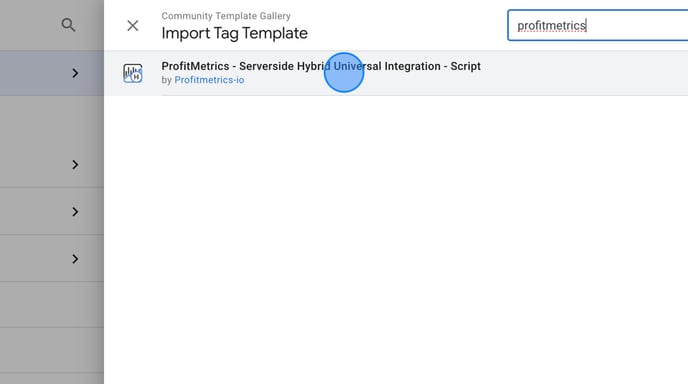
- Search for "ProfitMetrics" and click "ProfitMetrics - Serverside Hybrid Universal Integration - Script"
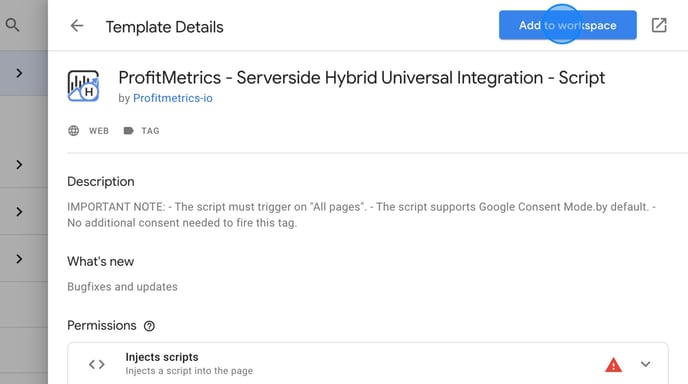
- Click "Add to workspace"
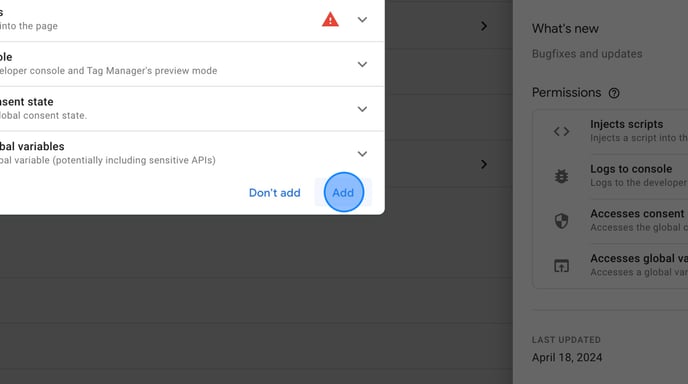
- Click "Add"
Part 2: Configure the tag
- In the "Public ID" field, input the 16 character Public ID found in ProfitMetrics > Websites
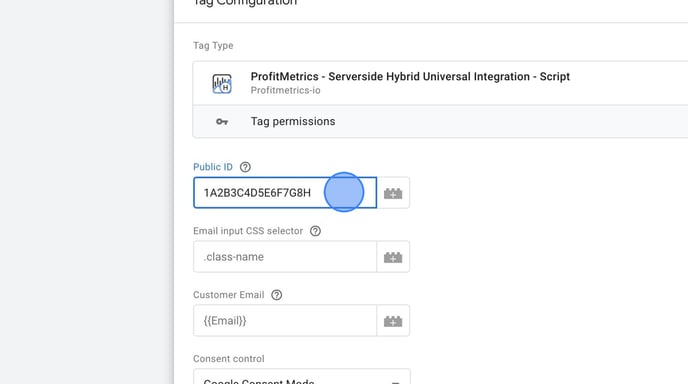
- In the "Email input CSS selector" field, input the CSS selector of all available email input fields on your website. We recommend as many as possible. These can include Checkout, LogIn, Account Signup, Newsletter signup, ect.
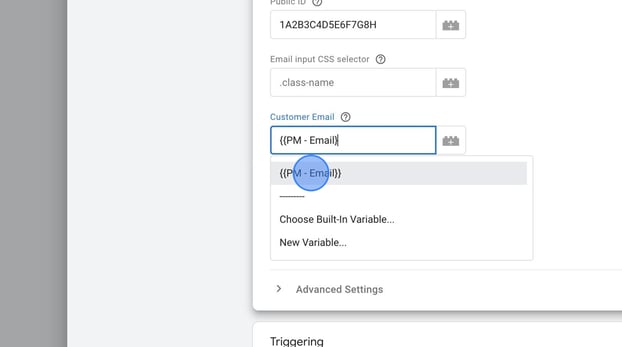
NOTE: If you don't know what a CSS selector is, we recommend using the Chrome extension https://selectorgadget.com/ to easily click and get the CSS selector of any input field containing the users email. - In the "Customer Email" field, insert a variable containing the customer's email. You essentially have 3 options based on the data available to you. If you do not have such a variable, you might need to consult your developer. We have outlined the three most common scenarios below
- Use an existing variable if you already have one for the customer's email.
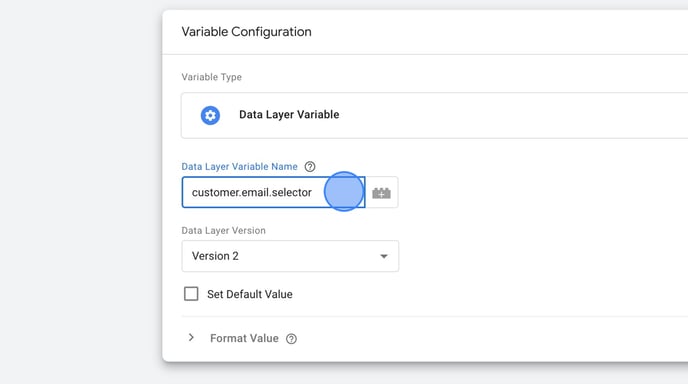
- Create a new Data Layer variable if the customer's email is available in the Data Layer.
c - Create a DOM Element variable if the customer email is visible on the order confirmation page and can be identified using a CSS selector.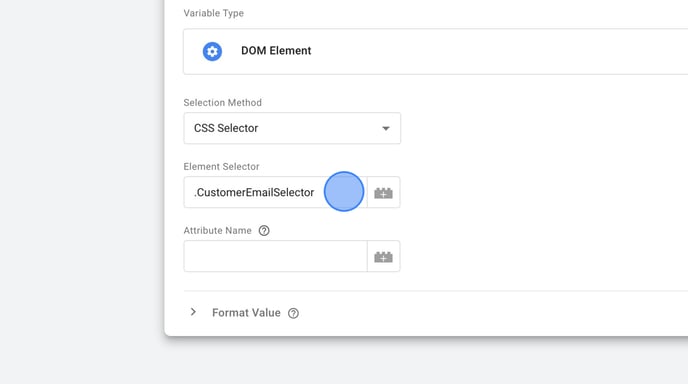
d - Select any other variable type that can extract the customer's email
NOTE: you might need to involve a developer if the customer email is not available anywhere.
- Use an existing variable if you already have one for the customer's email.
- The "Consent Control" dropdown, is set by default to listen for Google Consent Mode and set the marketing and statistics consent in ProfitMetrics accordingly. If you need to control consent using your own custom variables, you can select "Custom". If you wish to ignore consent completely, select "Deactivate". The script will automatically respect Cookiebot.com and Cookieinformation.com
- Click "Triggering"
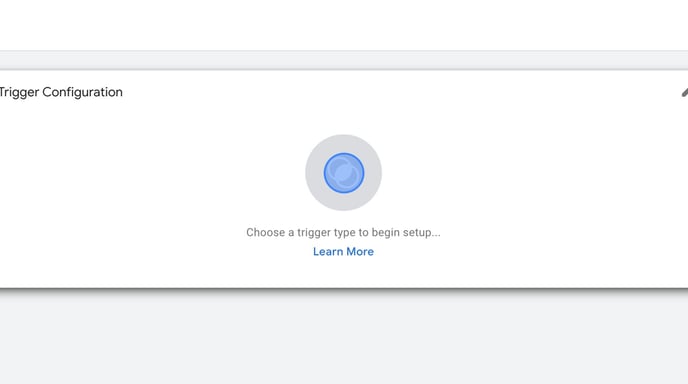
- Select "DOM Ready" to make the script fire once all pages are loaded.

- OPTIONAL: Add another trigger for "consent update", "cookie update" or any other event related to the client's cookie consent banner updating consent.
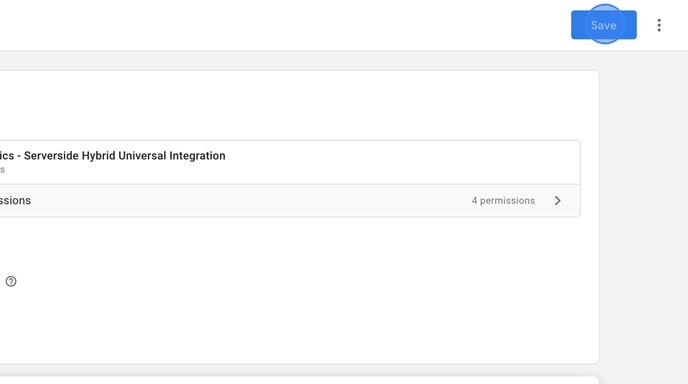
- Click Save
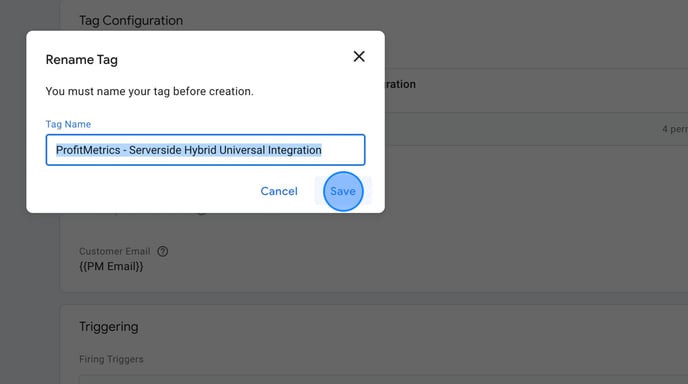
- Click Save again to confirm the name of the tag
Thats it. You are now ready to publish the changes