Intro: Please read all options carefully
Part 2: Select the conversion event
Part 4: Summary of Default Setup
Part 1: Connect to Meta
- Login to https://my.profitmetrics.io
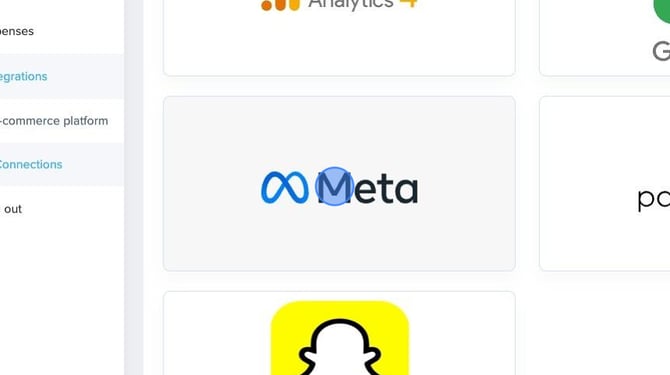
- Navigate to Integrations > Connections and click Meta
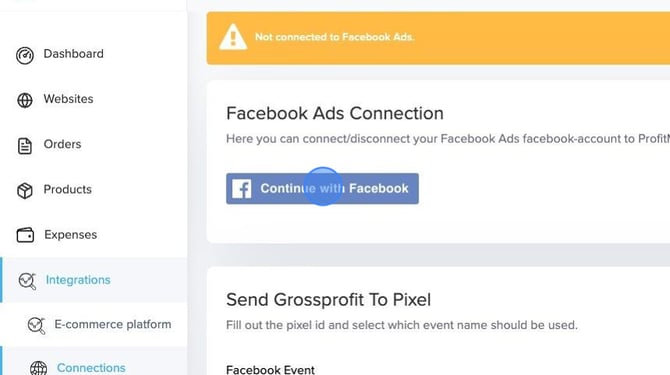
- Click "Continue with Facebook" and complete the login process.
Part 2: Select the conversion event
- Click the "Facebook Event" dropdown.
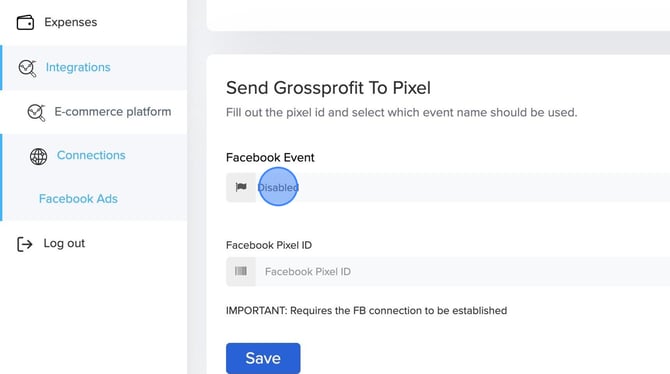
- Select the desired Event to use for tracking as described in the intro above.
Option A: Use Completed Registration (Recommended)
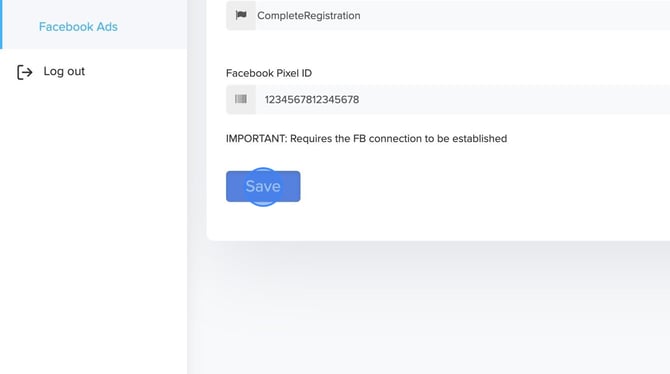
Select Completed Registrations. Click save.
Option B: Use your existing Pixel / Dataset and track Purchase event with Gross Profit value
Select Completed Registrations and change 'Purchase Event' dropdown to 'Enabled'. Click save.
CAUTION:
All new data coming into the Purchase event will show the calculated Gross Profit, not Revenue, as before. Hence, it will not be possible to compare old and new data as these are very different values.
Disable any existing purchase event tracking from your website to prevent the mixing of purchase events from two different sources. (NOTE: This might not be possible on some platforms.)
Update the Pixel ID to the newly created Pixel ID. Select Completed Registrations and change 'Purchase Event' dropdown to 'Enabled'. Click save.
.
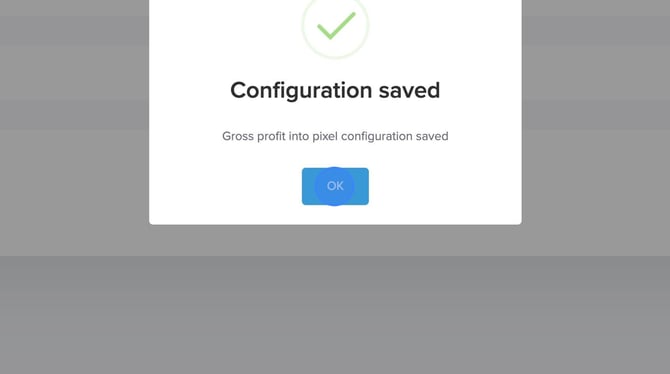
- Fill in your existing or new Pixel / Dataset ID and click Save.
- Click OK
Part 3. Set up custom columns
- Go to https://adsmanager.facebook.com/
- Click the Columns dropdown

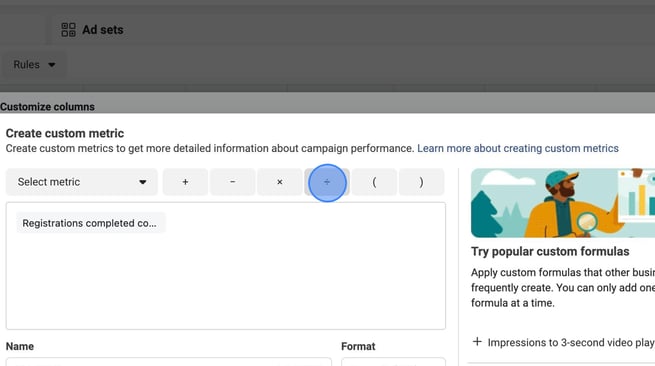
- Click Customize columns

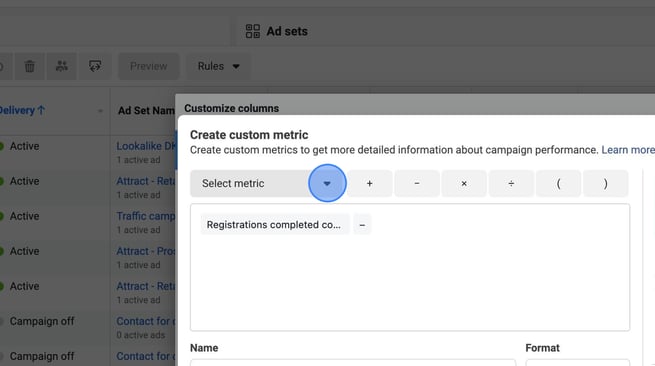
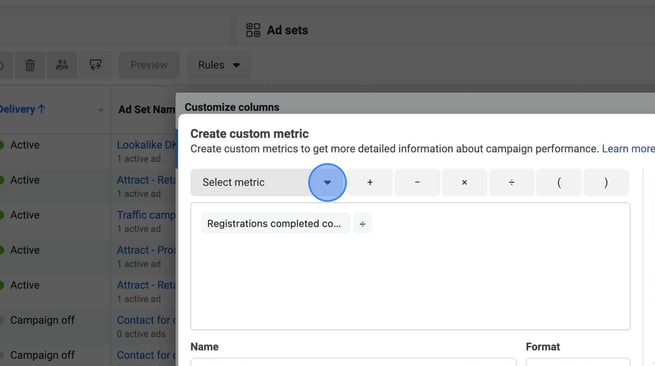
- Click Create custom metric

- Under Name, type PM Conversions

- Click Select metric dropdown

- Select:
(A) Registrations Completed or Leads
(B) Purchases
- Leave the Format set to Numeric

- Click the "Who can access this?" dropdown and select Everyone with access to this Business.

- Click Create metric

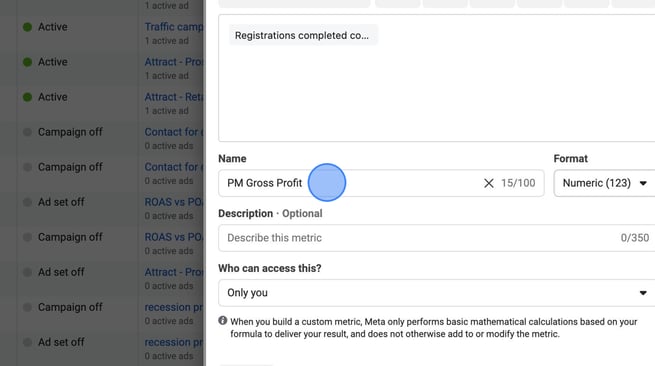
- Click Create custom metric
- Under Name, type PM Gross Profit
- Select:
(Option A) Registrations Completed conversion value or Leads conversion value
(Option B) Purchases conversion value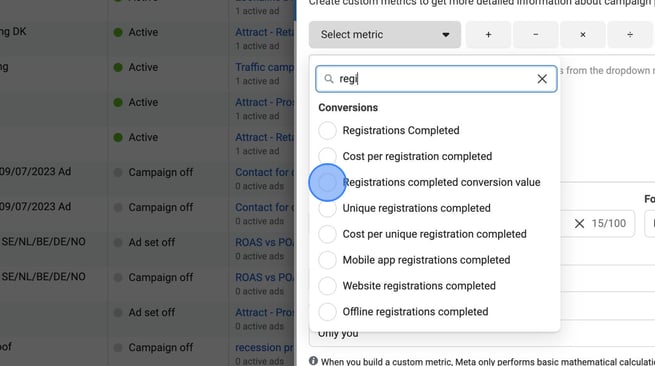
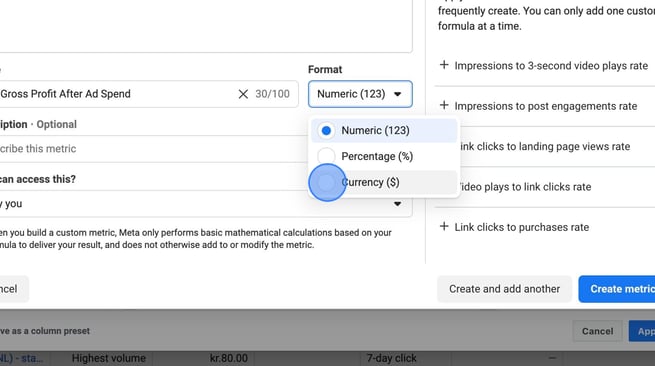
- Click Format dropdown and select Currency

- Click the "Who can access this?" dropdown and select Everyone with access to this Business.
- Click Create metric
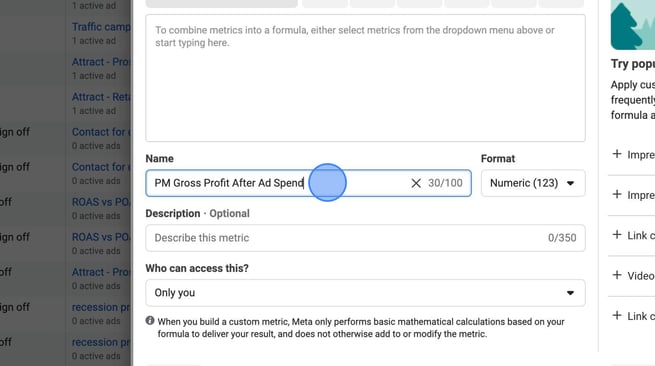
- Click Create custom metric
- Under Name, type PM Gross Profit After Ad Spend
- Click Select metric dropdown
- Select:
(A) Registrations Completed conversion value or Leads conversion value
(B) Purchases conversion value - Click minus / subtract

- Click Select metric dropdown
- Select Amount spend

- Click Format dropdown and select Currency
- Click the "Who can access this?" dropdown and select Everyone with access to this Business.
- Click Create metric
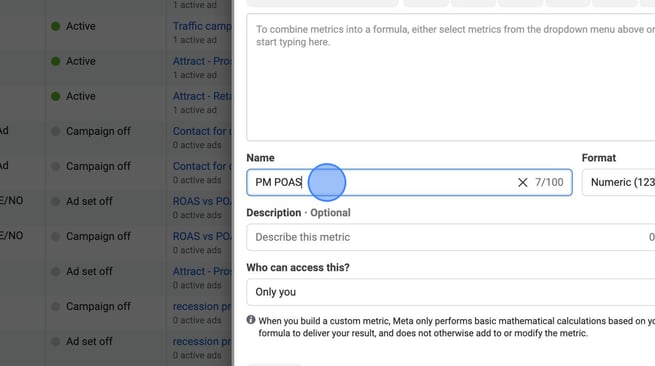
- Click Create custom metric
- Under Name, type PM POAS
- Click Select metric dropdown
- Select:
(A) Registrations Completed conversion value or Leads conversion value
(B) Purchases conversion value - Click Divide
- Click Select metric dropdown
- Select Amount spend
- Leave the Format set to Numeric
- Click the "Who can access this?" dropdown and select Everyone with access to this Business.
- Click Create metric
- Activate your columns by selecting them from the list

- Check Save as column preset and name it "ProfitMetrics"

- Click Apply

That's it. You have now completed the integration and set up custom columns.
Summary of default setup:
- Go to Facebook Account -> Ads Manager -> Columns -> Customize columns.
- Create columns (4 Columns):
- Name: PM Conversions
Format: Numeric(1,2,3)
Description: Empty
Formula: Registration Completed (If you chose Complete Registration)
Access: Everyone
Click: Create Metric - Name: PM Gross Profit
Format: Currency($)
Description: Empty
Formula: Registration Completed Conversion Value
Access: Everyone
Click: Create Metric - Name: PM Gross Profit After Ad Spend
Format: Currency($)
Description: Empty
Formula: Registration Completed Conversion Value (- minus) Amount Spend
Access: Everyone
Click: Create Metric - Name: PM POAS
Format: Numeric(1,2,3)
Description: Empty
Formula: Registration Completed Conversion Value (%-divide) Amount Spend
Access: Everyone
Click: Create Metric
- Name: PM Conversions
Language Differences:
Completed Registrations (English, Dutch, Danish):
Registration completed = Voltooide registraties = Fuldførte registreringer
Registration completed conversion value = Conversiewaarde voltooide registraties = Konverteringsværdi for fuldførte registreringer
Amount spend = Besteed bedrag = Brugt beløb
Leads (English, Dutch, Danish):
Leads = Leads = Leads
Leads conversion value = Conversiewaarde leads = Koverteringsværdi fra leads
Amount spend = Besteed bedrag = Brugt beløb