Option 1: Install the pixel manually
Option 2: Install the pixel through Google Tag Manager
Option 3: Install the pixel on Shopify
Option 1: Install the pixel manually
- Copy the script below
<!-- Facebook Pixel Code -->
<script>
  !function(f,b,e,v,n,t,s)
  {if(f.fbq)return;n=f.fbq=function(){n.callMethod?
  n.callMethod.apply(n,arguments):n.queue.push(arguments)};
  if(!f._fbq)f._fbq=n;n.push=n;n.loaded=!0;n.version='2.0';
  n.queue=[];t=b.createElement(e);t.async=!0;
  t.src=v;s=b.getElementsByTagName(e)[0];
  s.parentNode.insertBefore(t,s)}(window, document,'script',
  'https://connect.facebook.net/en_US/fbevents.js');
  fbq('init', '{XXXXXXXXXXXXXXX}');
  fbq('track', 'PageView');
</script>
<noscript>
  <img height="1" width="1" style="display:none"
       src="https://www.facebook.com/tr?id={XXXXXXXXXXXXXXX}&ev=PageView&noscript=1"/>
</noscript>
<!-- End Facebook Pixel Code --> - Paste the script between the <head> and </head> tag on your website theme.
- Replace the two instances of "XXXXXXXXXXXXXXX" with your actual pixel ID.
- Save and publish the changes
Option 2: Install the pixel through Google Tag Manager
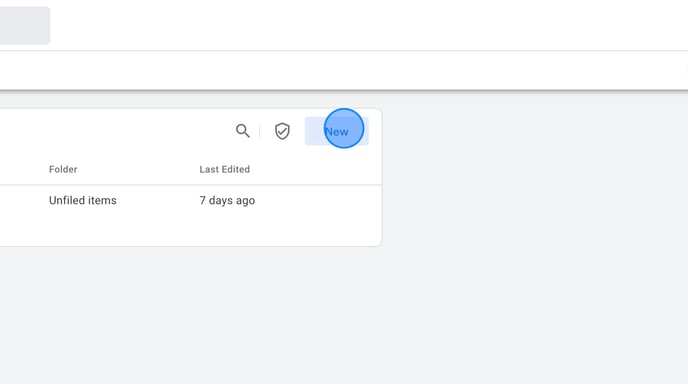
- Log in to https://tagmanager.google.com
- Click Tags
.png?width=688&height=385&name=Create%20Facebook%20Pixel%20Tag%20in%20Google%20Tag%20Manager%20-%20Step%202%20(1).png)
- Click "New"
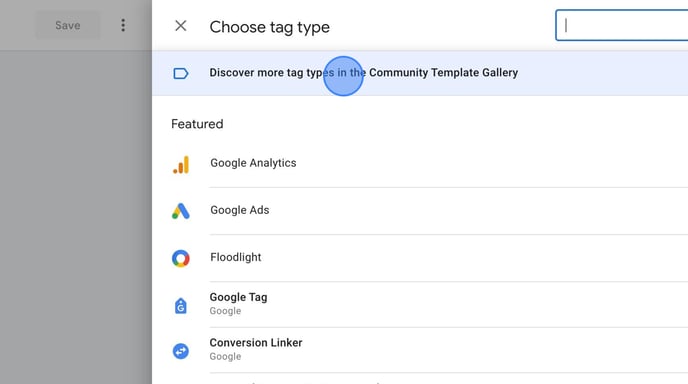
- Click "Tag Configuration"

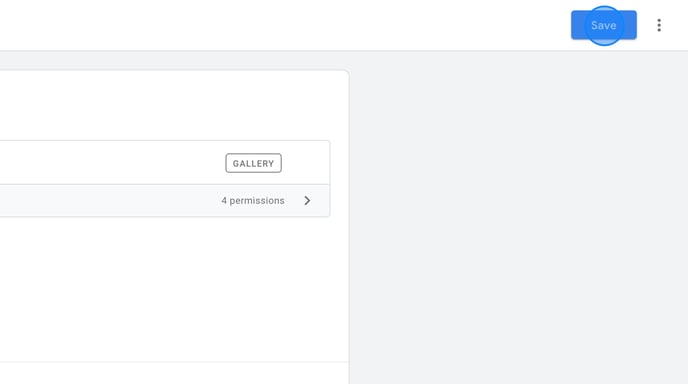
- Click "Discover more tag types in the Community Template Gallery"
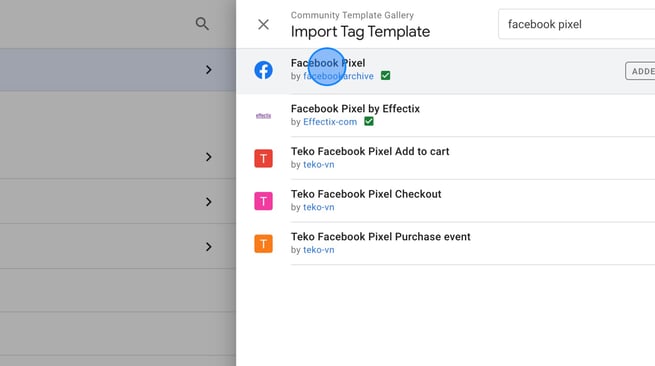
- Search for "Facebook Pixel" and click "Facebook pixel by facebookarchive"
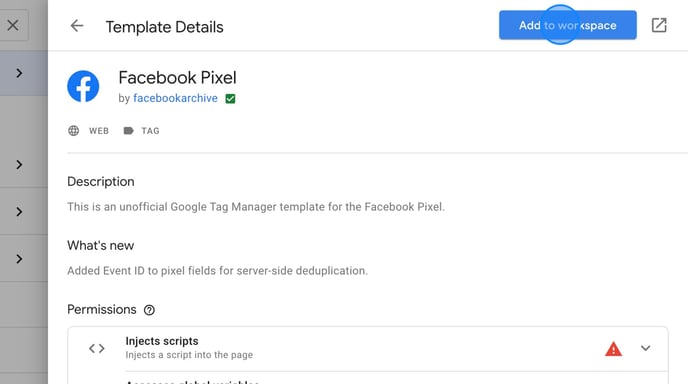
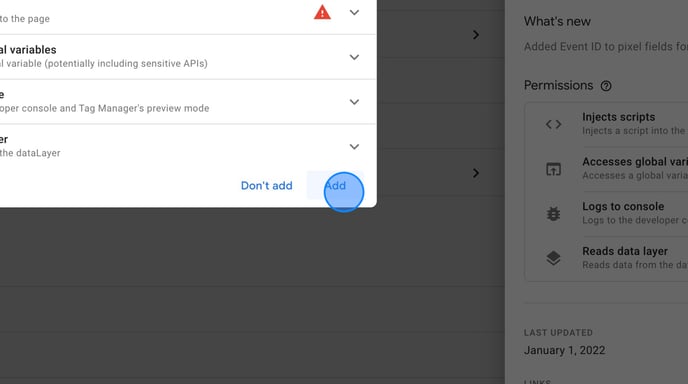
- Click "Add to workspace"
- Click "Add"
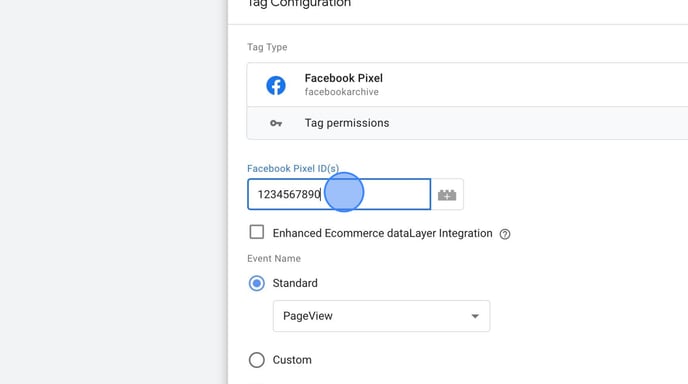
- Insert your Facebook Pixel ID in the "Facebook Pixel ID(s)" field
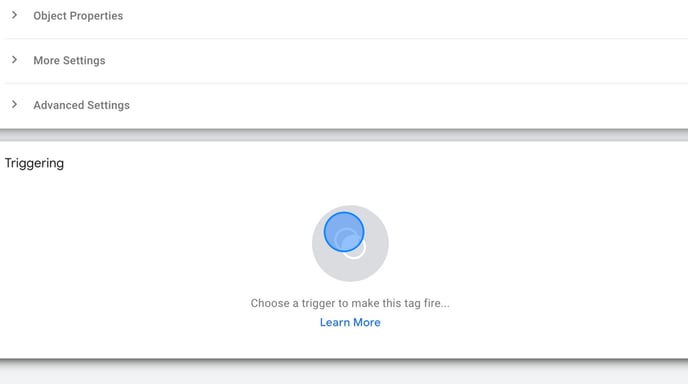
- Click "Triggering"
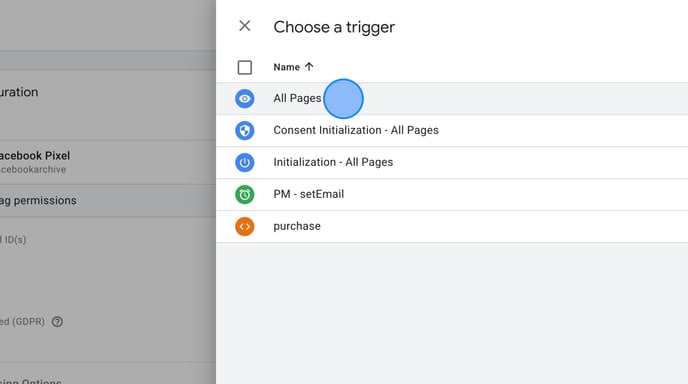
- Select "All Pages"
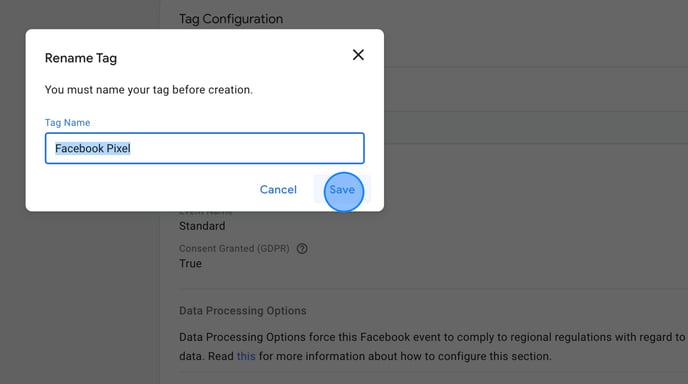
- Click "Save" and "Save" again
- Remember to make any required adjustments to respect consent, and publish the changes.