How to install the Facebook pixel on your website
Follow the steps in this guide to insert the Facebook pixel on your website. You can do it manually or through Google Tag Manager.
Option 1: Install the pixel manually
Option 2: Install the pixel through Google Tag Manager
Option 3: Install the pixel on Shopify
Option 1: Install the pixel manually
- Copy the script below
<!-- Facebook Pixel Code -->
<script>
  !function(f,b,e,v,n,t,s)
  {if(f.fbq)return;n=f.fbq=function(){n.callMethod?
  n.callMethod.apply(n,arguments):n.queue.push(arguments)};
  if(!f._fbq)f._fbq=n;n.push=n;n.loaded=!0;n.version='2.0';
  n.queue=[];t=b.createElement(e);t.async=!0;
  t.src=v;s=b.getElementsByTagName(e)[0];
  s.parentNode.insertBefore(t,s)}(window, document,'script',
  'https://connect.facebook.net/en_US/fbevents.js');
  fbq('init', '{XXXXXXXXXXXXXXX}');
  fbq('track', 'PageView');
</script>
<noscript>
  <img height="1" width="1" style="display:none"
       src="https://www.facebook.com/tr?id={XXXXXXXXXXXXXXX}&ev=PageView&noscript=1"/>
</noscript>
<!-- End Facebook Pixel Code --> - Paste the script between the <head> and </head> tag on your website theme.
- Replace the two instances of "XXXXXXXXXXXXXXX" with your actual pixel ID.
- Save and publish the changes
Option 2: Install the pixel through Google Tag Manager
- Log in to https://tagmanager.google.com
- Click Tags
.png?width=688&height=385&name=Create%20Facebook%20Pixel%20Tag%20in%20Google%20Tag%20Manager%20-%20Step%202%20(1).png)
- Click "New"
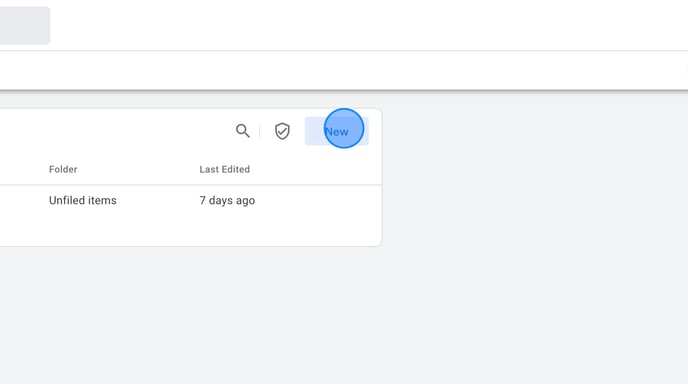
- Click "Tag Configuration"
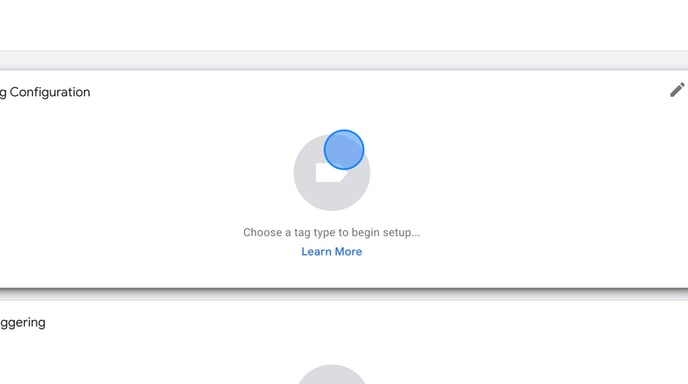
- Click "Discover more tag types in the Community Template Gallery"
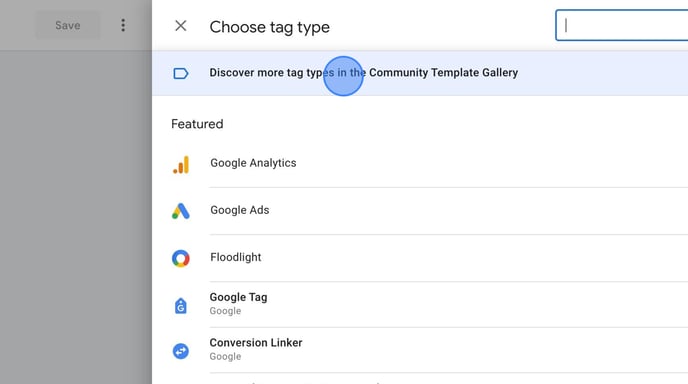
- Search for "Facebook Pixel" and click "Facebook pixel by facebookarchive"
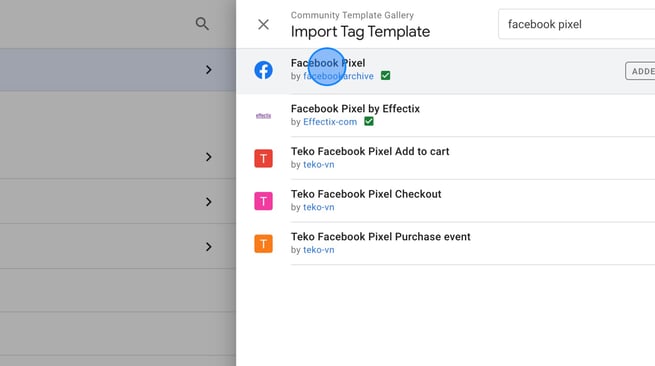
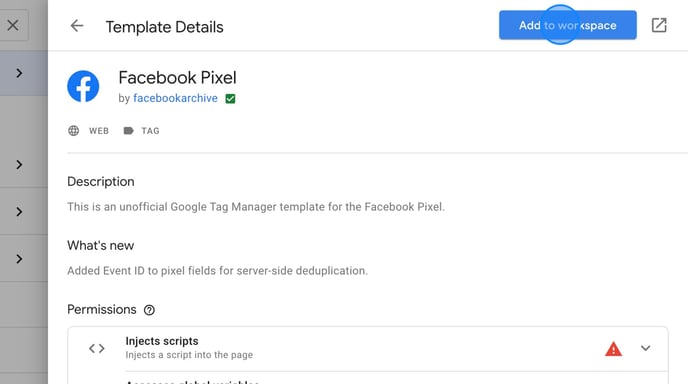
- Click "Add to workspace"
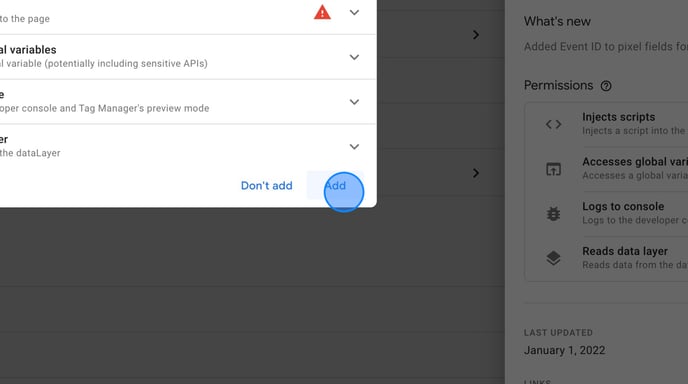
- Click "Add"
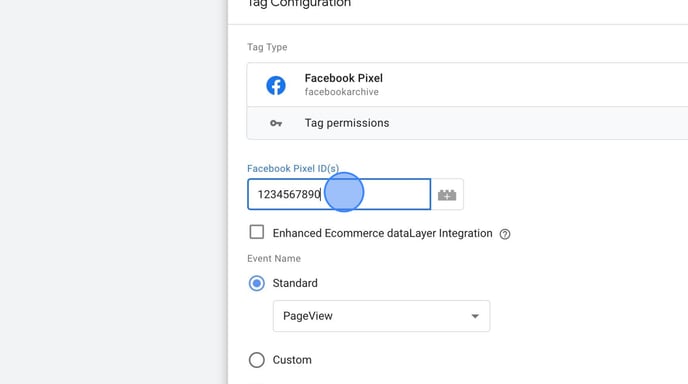
- Insert your Facebook Pixel ID in the "Facebook Pixel ID(s)" field
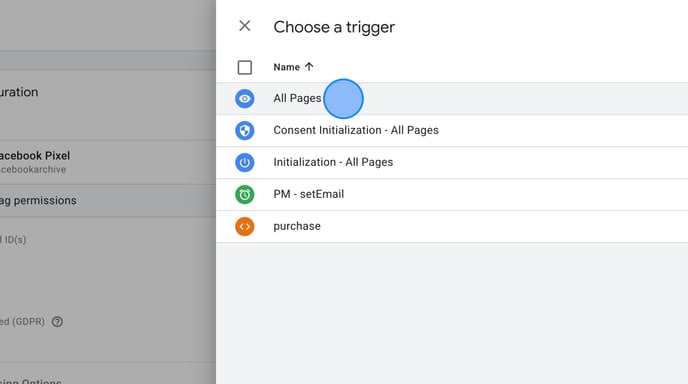
- Click "Triggering"
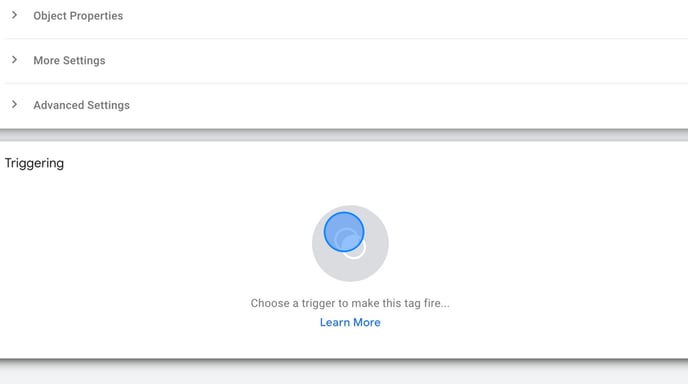
- Select "All Pages"
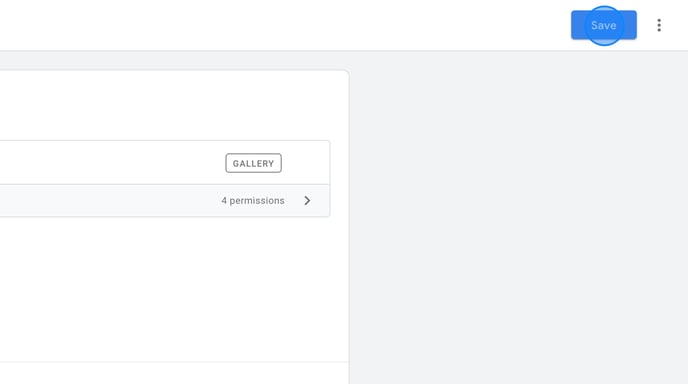
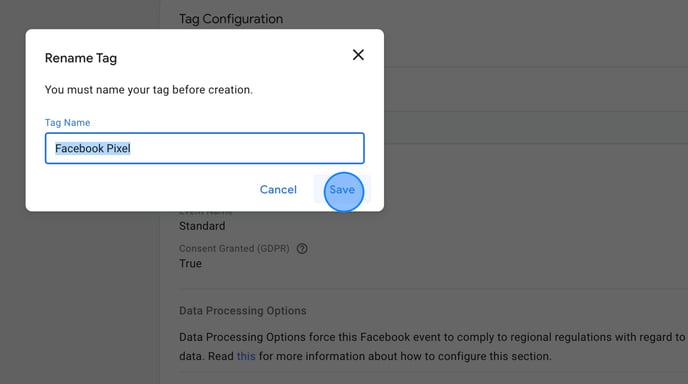
- Click "Save" and "Save" again
- Remember to make any required adjustments to respect consent, and publish the changes.